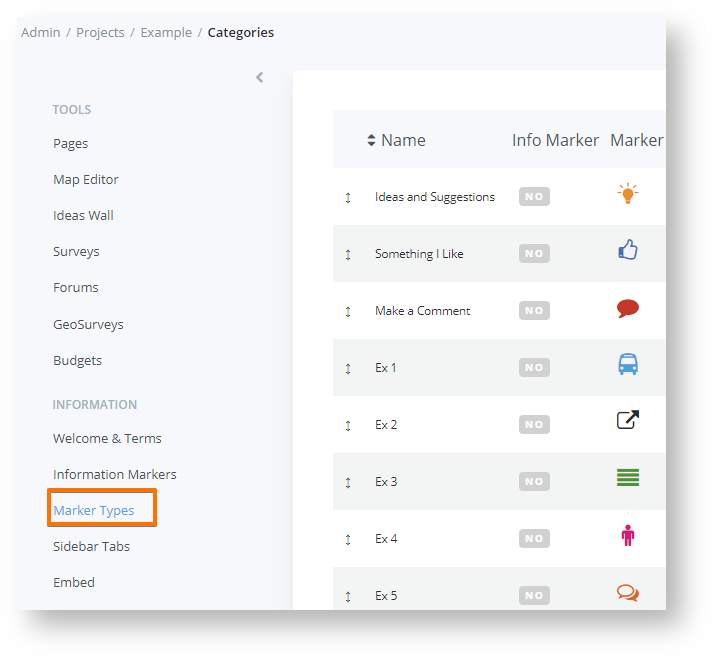
If you want more than 6 pins/marker types at the top of the map for scaling purposes, you can display them nested within one button instead of showing all the individual pins. Users will click on this button to add comments, then they will be able to choose which marker type to submit their comment under. Extended markers are also required to be ON if you want route drawing available for users.
-
Log in to your Social Pinpoint Admin site
-
Follow the guide below to configure the various settings and options.
Log in to your Social Pinpoint Admin site
Follow the guide below to configure the various settings and options.
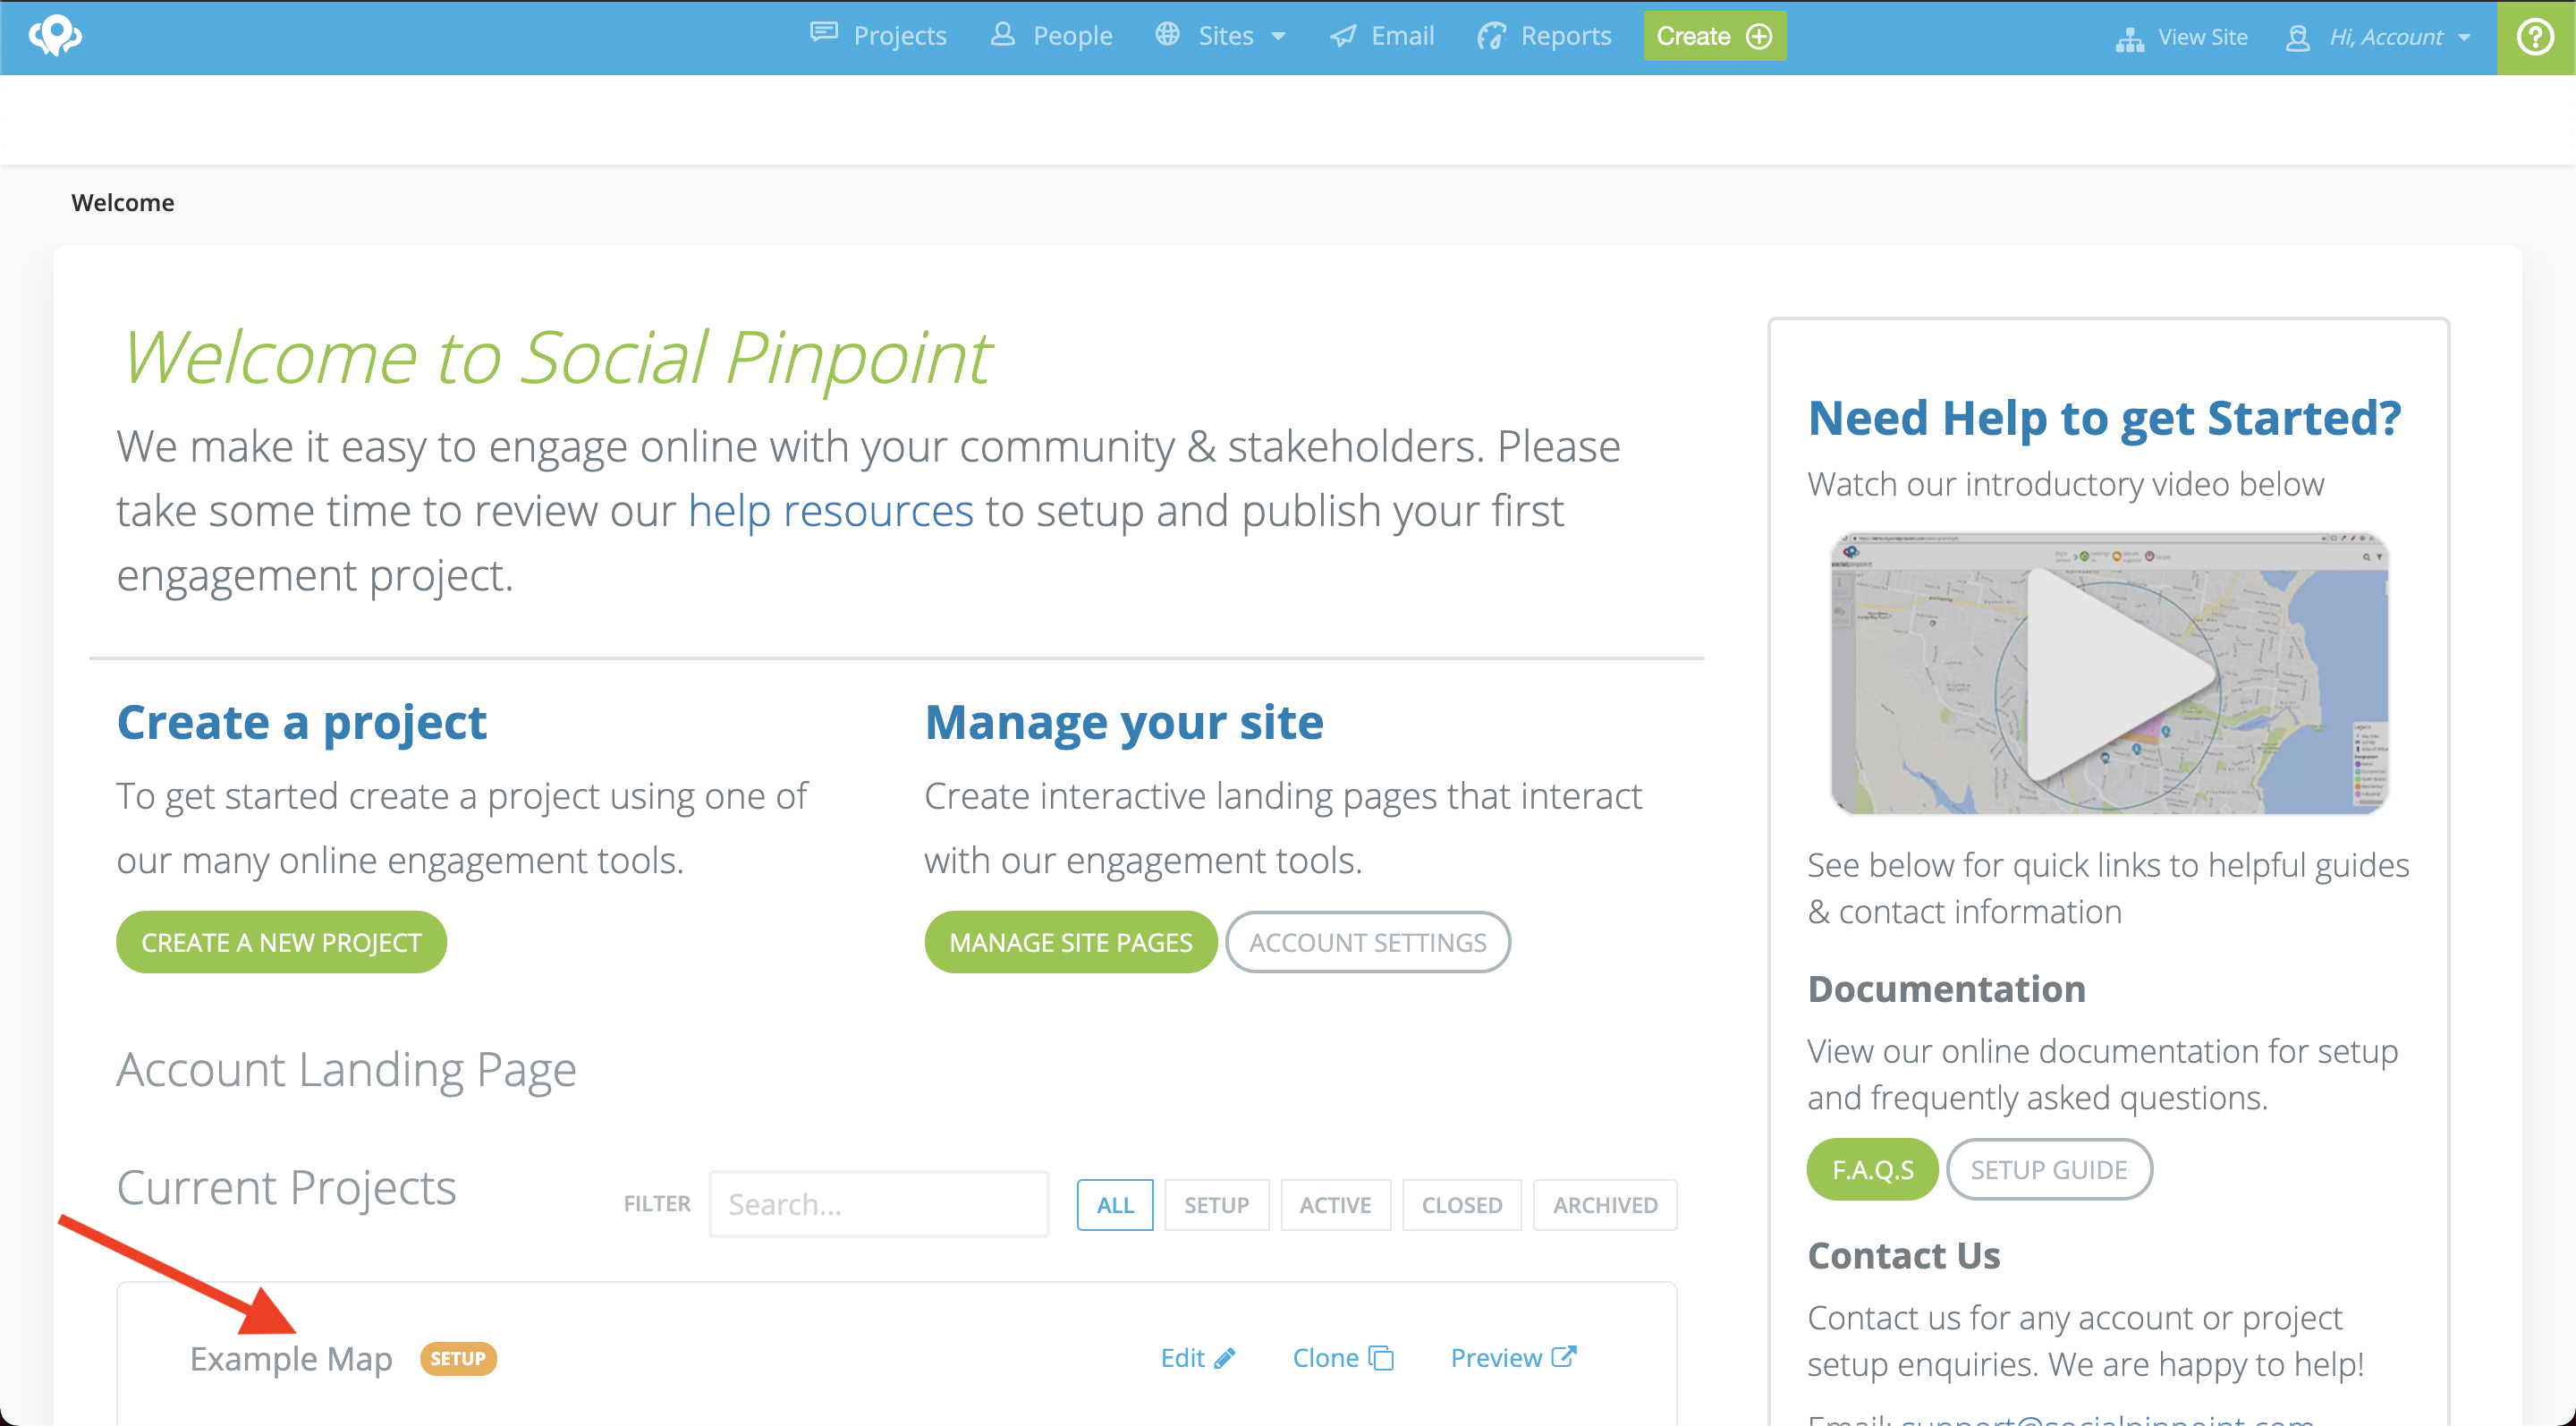
Create a project or click on the project title to edit on an existing project.
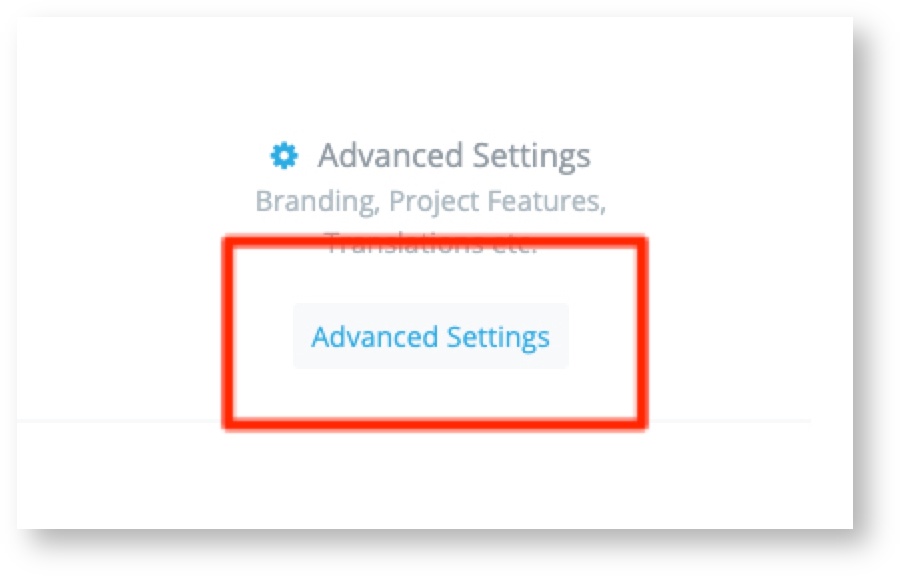
Select 'Advanced Settings' from your Setup Dashboard.
From the navigation bar on the left, click Project Settings.
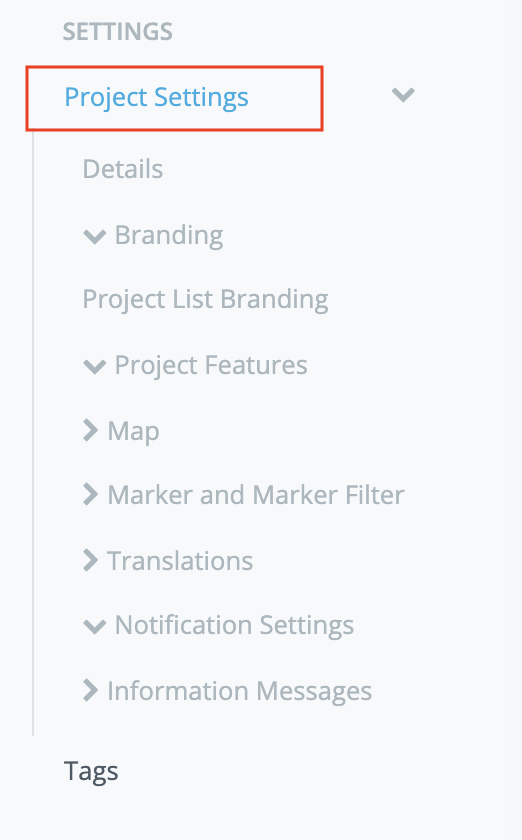
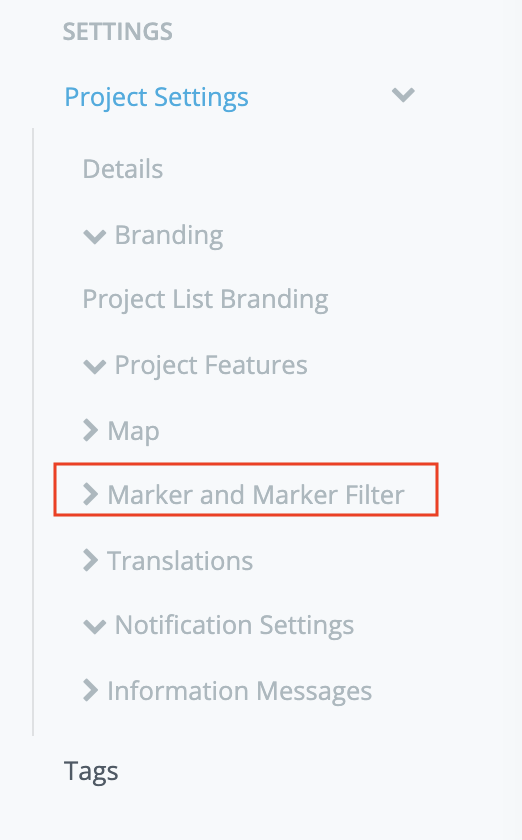
Click the drop-down to expand and view the option for Marker and Marker Filter.
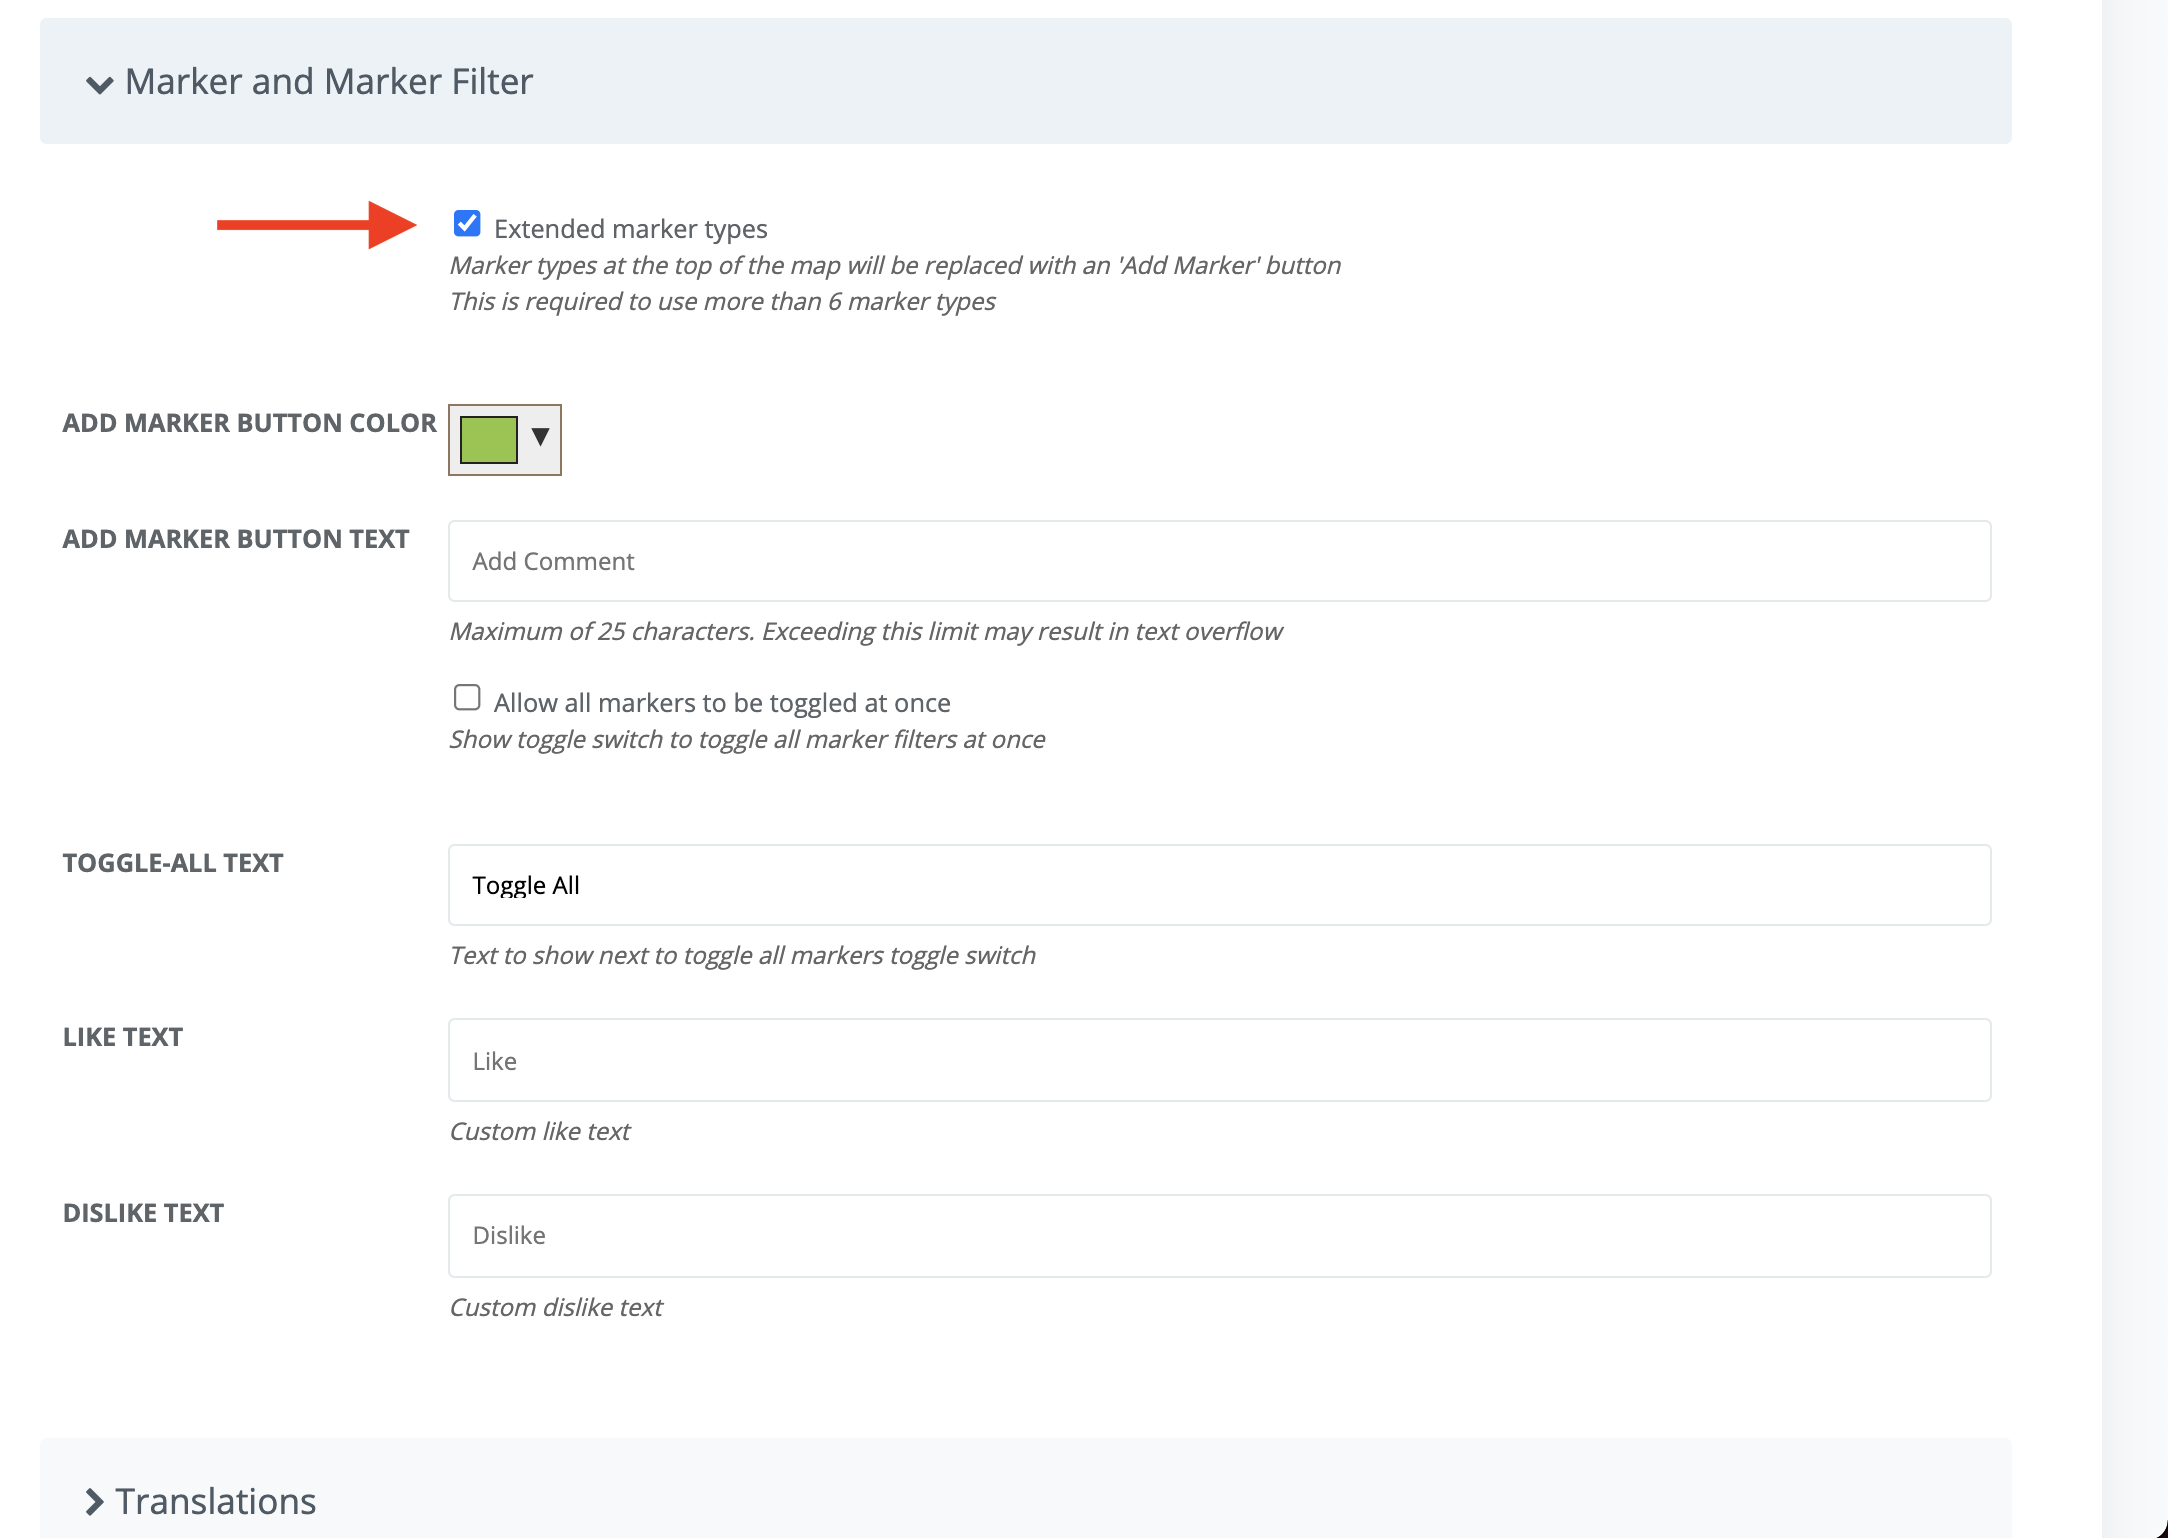
Check off the option to allow extended marker types. This will cause marker types at the top of the map to be replaced with an 'Add Marker' button.
This option is required to use more than 6 marker types or route drawings. To learn more about routing drawing, follow this guide: Project Setup - Marker Types (Route Drawing)
Scroll to the bottom of the page and click Update to save your changes!
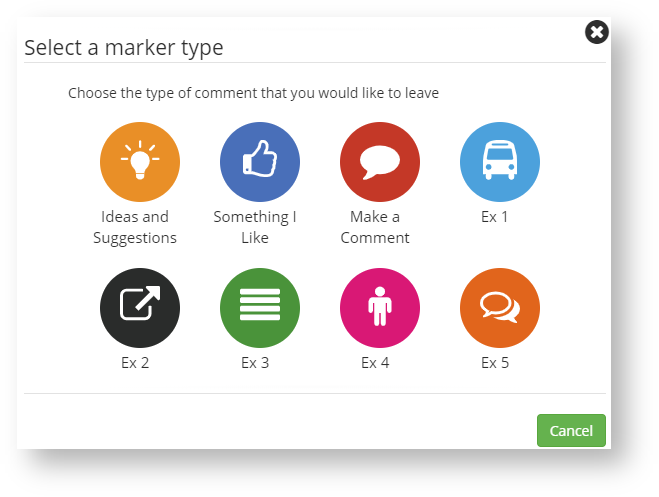
Now anyone viewing your map will only see one button to comment initially. Once they click on that button to add their comment, they will see all the available marker types you have created.

To create or edit your current marker types, go to Marker Types from your Edit Project navigation bar and follow this guide: Project Setup - Marker Types
