How do I upload GIS spatial data onto the map?
ℹ️ Access to GIS functionality and features is dependent on your Social Pinpoint subscription type.
Please contact Social Pinpoint for additional information or assistance on adding GIS data to your project map.
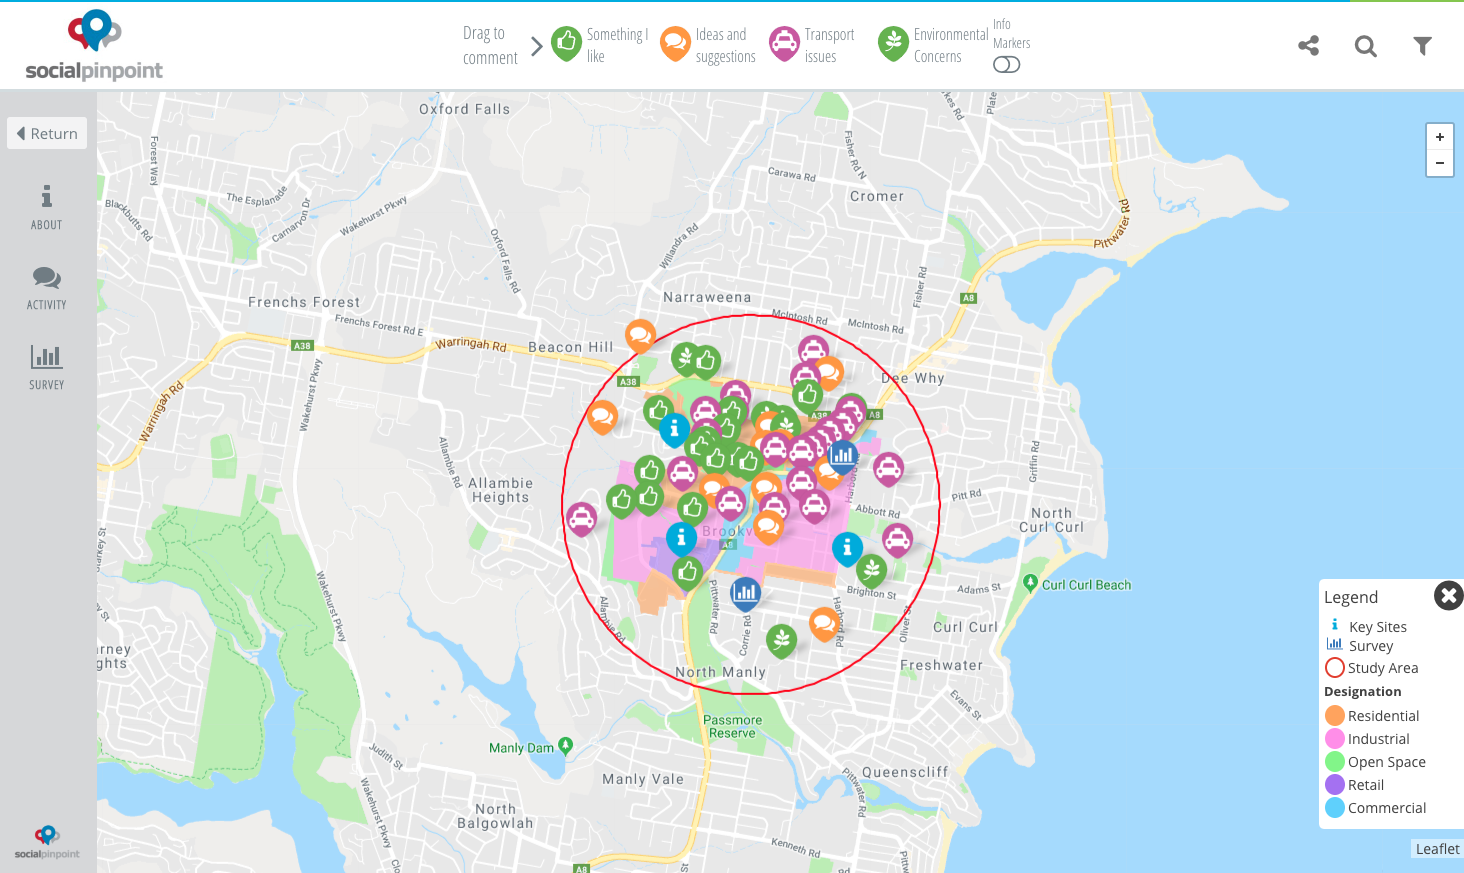
Spatial GIS data can be overlayed on top of the base map for many uses including:
-
Defining the area boundary to ensure comments dragged onto map are within the study area
-
Restricting users from adding comments to areas on the map
-
Displaying information such as area boundaries, land use designations, points of interest and features (roads, rail lines, flood areas etc)
-
Used to categorise incoming data - comments are tagged with the id of the zone(s) they were dropped in
Defining the area boundary to ensure comments dragged onto map are within the study area
Restricting users from adding comments to areas on the map
Displaying information such as area boundaries, land use designations, points of interest and features (roads, rail lines, flood areas etc)
Used to categorise incoming data - comments are tagged with the id of the zone(s) they were dropped in
GeoJSON (.geojson) and Shapefiles (.shp, .shx and .dbf) are both open standard format for encoding collections of simple geographical features and most industry standard GIS editors can export to this format (ESRI ArcGIS, MapInfo, QGIS etc). Data provided in other formats such as KML can be easily converted. The GIS data is uploaded and stored in the Social Pinpoint geo-spatial database and can be in the form of polygons, lines and points.
✅ Overlaying other types of non-GIS data including photos/ images and videos is supported through other Social Pinpoint features such as Zone Pop-ups and Admin Markers.
To add a new GeoJSON or Shapefile layer into your project:
-
Log in to your Social Pinpoint Admin site
-
In the left hand Settings menu bar click the Map Editor
-
Click the link Upload Layers
-
Follow the guide below to configure the various settings and options
Log in to your Social Pinpoint Admin site
In the left hand Settings menu bar click the Map Editor
Click the link Upload Layers
Follow the guide below to configure the various settings and options
⚠️Please note the projection for spatial data in Social Pinpoint should be EPSG:4326 / WGS:84
🎓 Tips from the Social Pinpoint Team 🎓
When uploading GIS into Social Pinpoint, it is important to remember that as we are a Community Engagement Mapping Tool, we cannot host overly large file sizes locally within our platform. The recommended size limit for GIS spatial data is 6MB (.shp files) or 1MB (GeoJSON files). Keep in mind that large files sizes will require longer loading times for your stakeholders, so it is important to keep in mind user experience when creating your maps. For larger files Contact Us for custom base map option
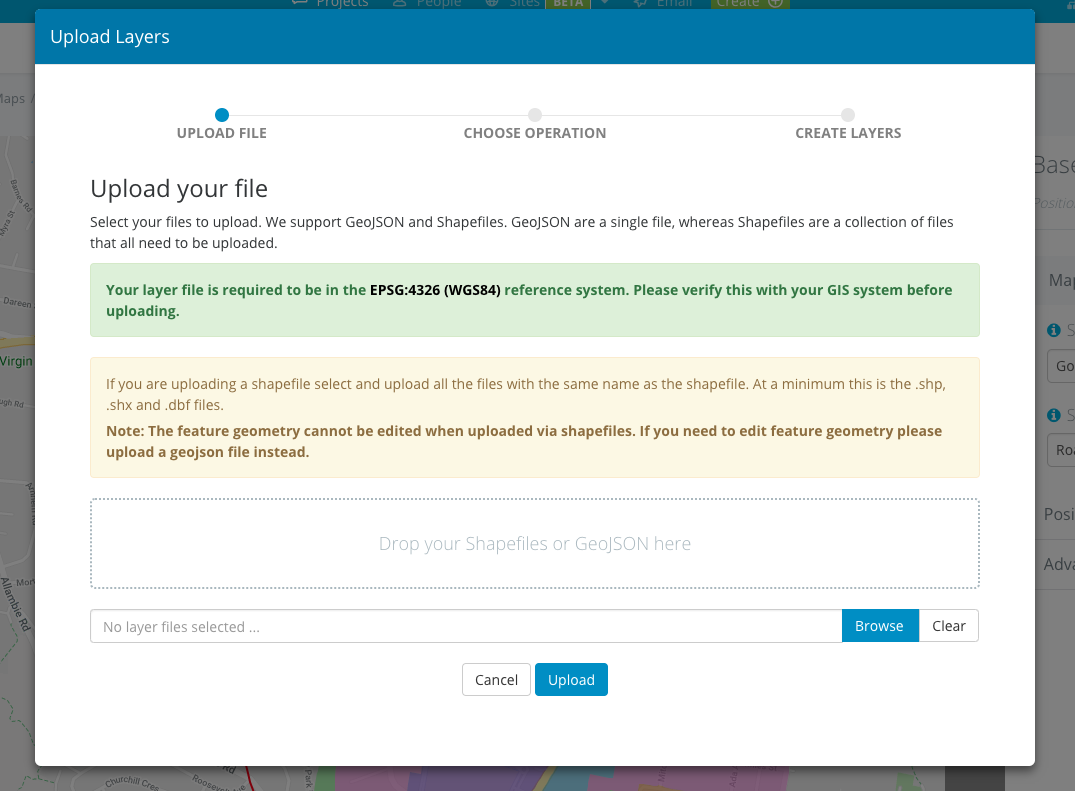
Upload Your File: Select your files to upload. We support GeoJSON and Shapefiles. Files can either be dropped or browsed for. GIS features supported are polygons, lines and points.
ℹ️ GeoJSON is a single file, whereas Shapefiles are a collection of files that all need to be uploaded. The minimum that can be uploaded is .shp, .shx and .dbf files.
Click Upload.
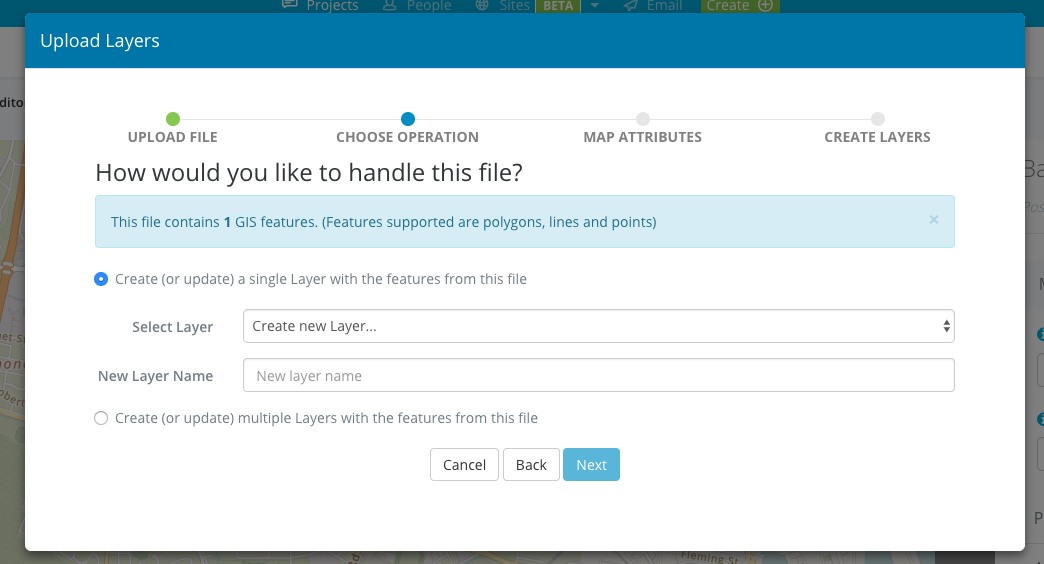
Create a single layer or multiple layers from the file:
Create (or update) a single layer: If creating a new layer, add the new layer name. If updating and/or replacing a current layer select the layer from the drop down box.
Create (or update) multiple layers: A more advanced GIS tool which allows Social Pinpoint the ability to display GIS features in more than one layer.
Click Next
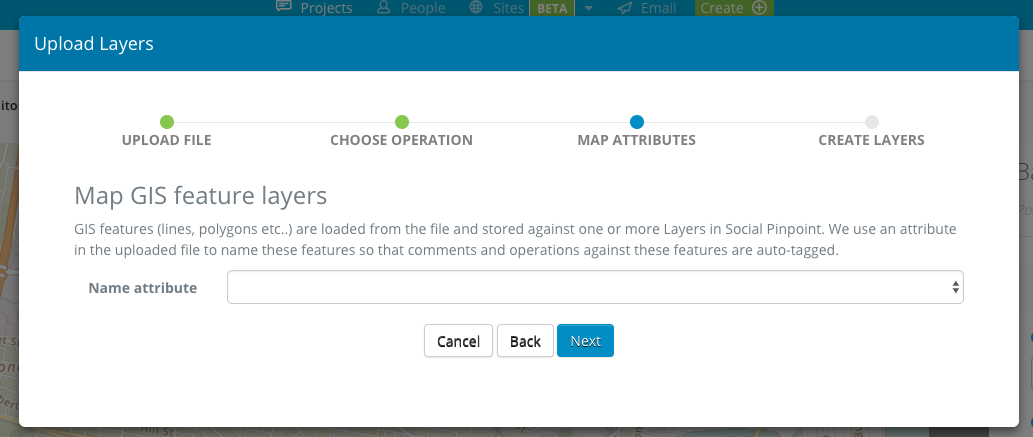
GIS features (lines, polygons etc..) are loaded from the file and stored against one or more Layers in Social Pinpoint. You can nominate to use an attribute in the uploaded file to name these features so that comments and operations against these features are auto-tagged.
Click Next
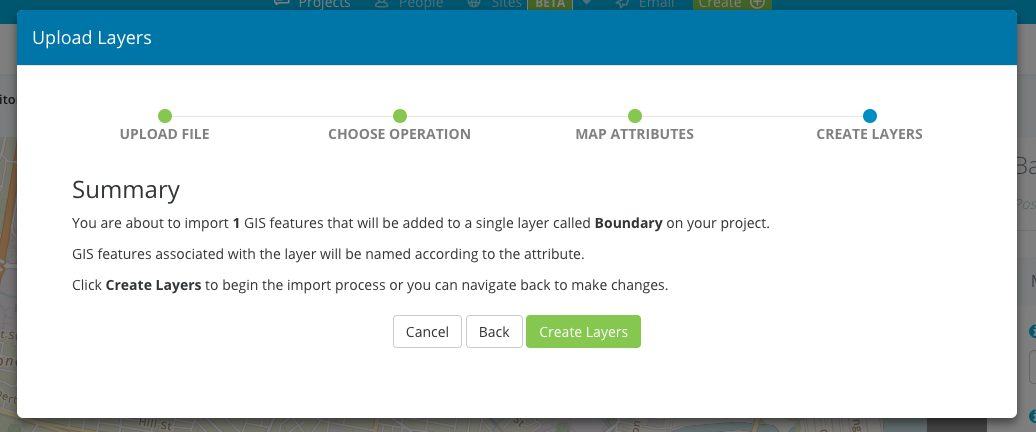
Summary: The summary will outline how many GIS features you are importing, the layer name and attribute if selected.
Click Create Layers to begin importing the files or Back to make changes.
Once configured, your Shapefile layer will be shown on the main Social Pinpoint mapping tool. The name will be displayed on enabled Project Areas sidebar tab widgets and the project area polygon, line or point will be overlayed on the map as configured.
