You can customise various configuration options of your Social Pinpoint site through the settings available in the Project Settings.
To add new or configure your existing Social Pinpoint projects:
-
Log in to your Social Pinpoint Admin site
-
Select Edit next to the applicable project or Create a new Project
-
If you select Edit, you will taken directly into Setup screen where you will see 'Advanced Settings'.
-
Follow the guide below to configure the various settings and options.
Log in to your Social Pinpoint Admin site
Select Edit next to the applicable project or Create a new Project
If you select Edit, you will taken directly into Setup screen where you will see 'Advanced Settings'.
Follow the guide below to configure the various settings and options.
Subtitle (optional): Enter a descriptive subtitle visible to users on the welcome/ info screen
Timezone: set timezone of the project location
Region: Selecting the correct region will ensure your reporting is correct and the address search for stakeholders is more accurate.
Private Project: Enables the project to be private. Anonymous users cannot view the map when this feature is enabled. Only users defined by an Administrator and supplied with the project URL have access to the map.

Branding
Project Logo: Choose your company logo to be located at the top left of the map project page. Size should be 390x170px - file type should be .jpg
Project List Branding
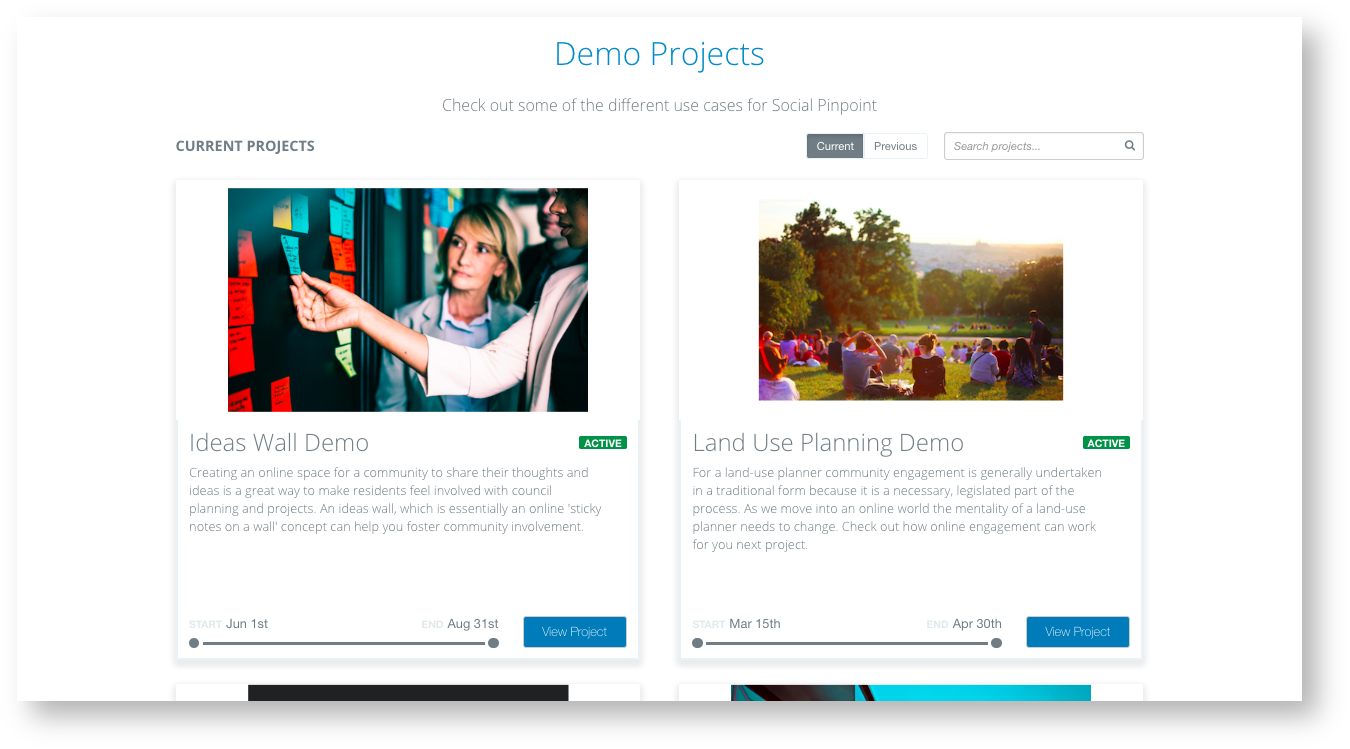
Image and text used on pages when using the 'Project list' widget
Project Summary: Description of the project
Hero Image: Display image for the project
Project Feature Options
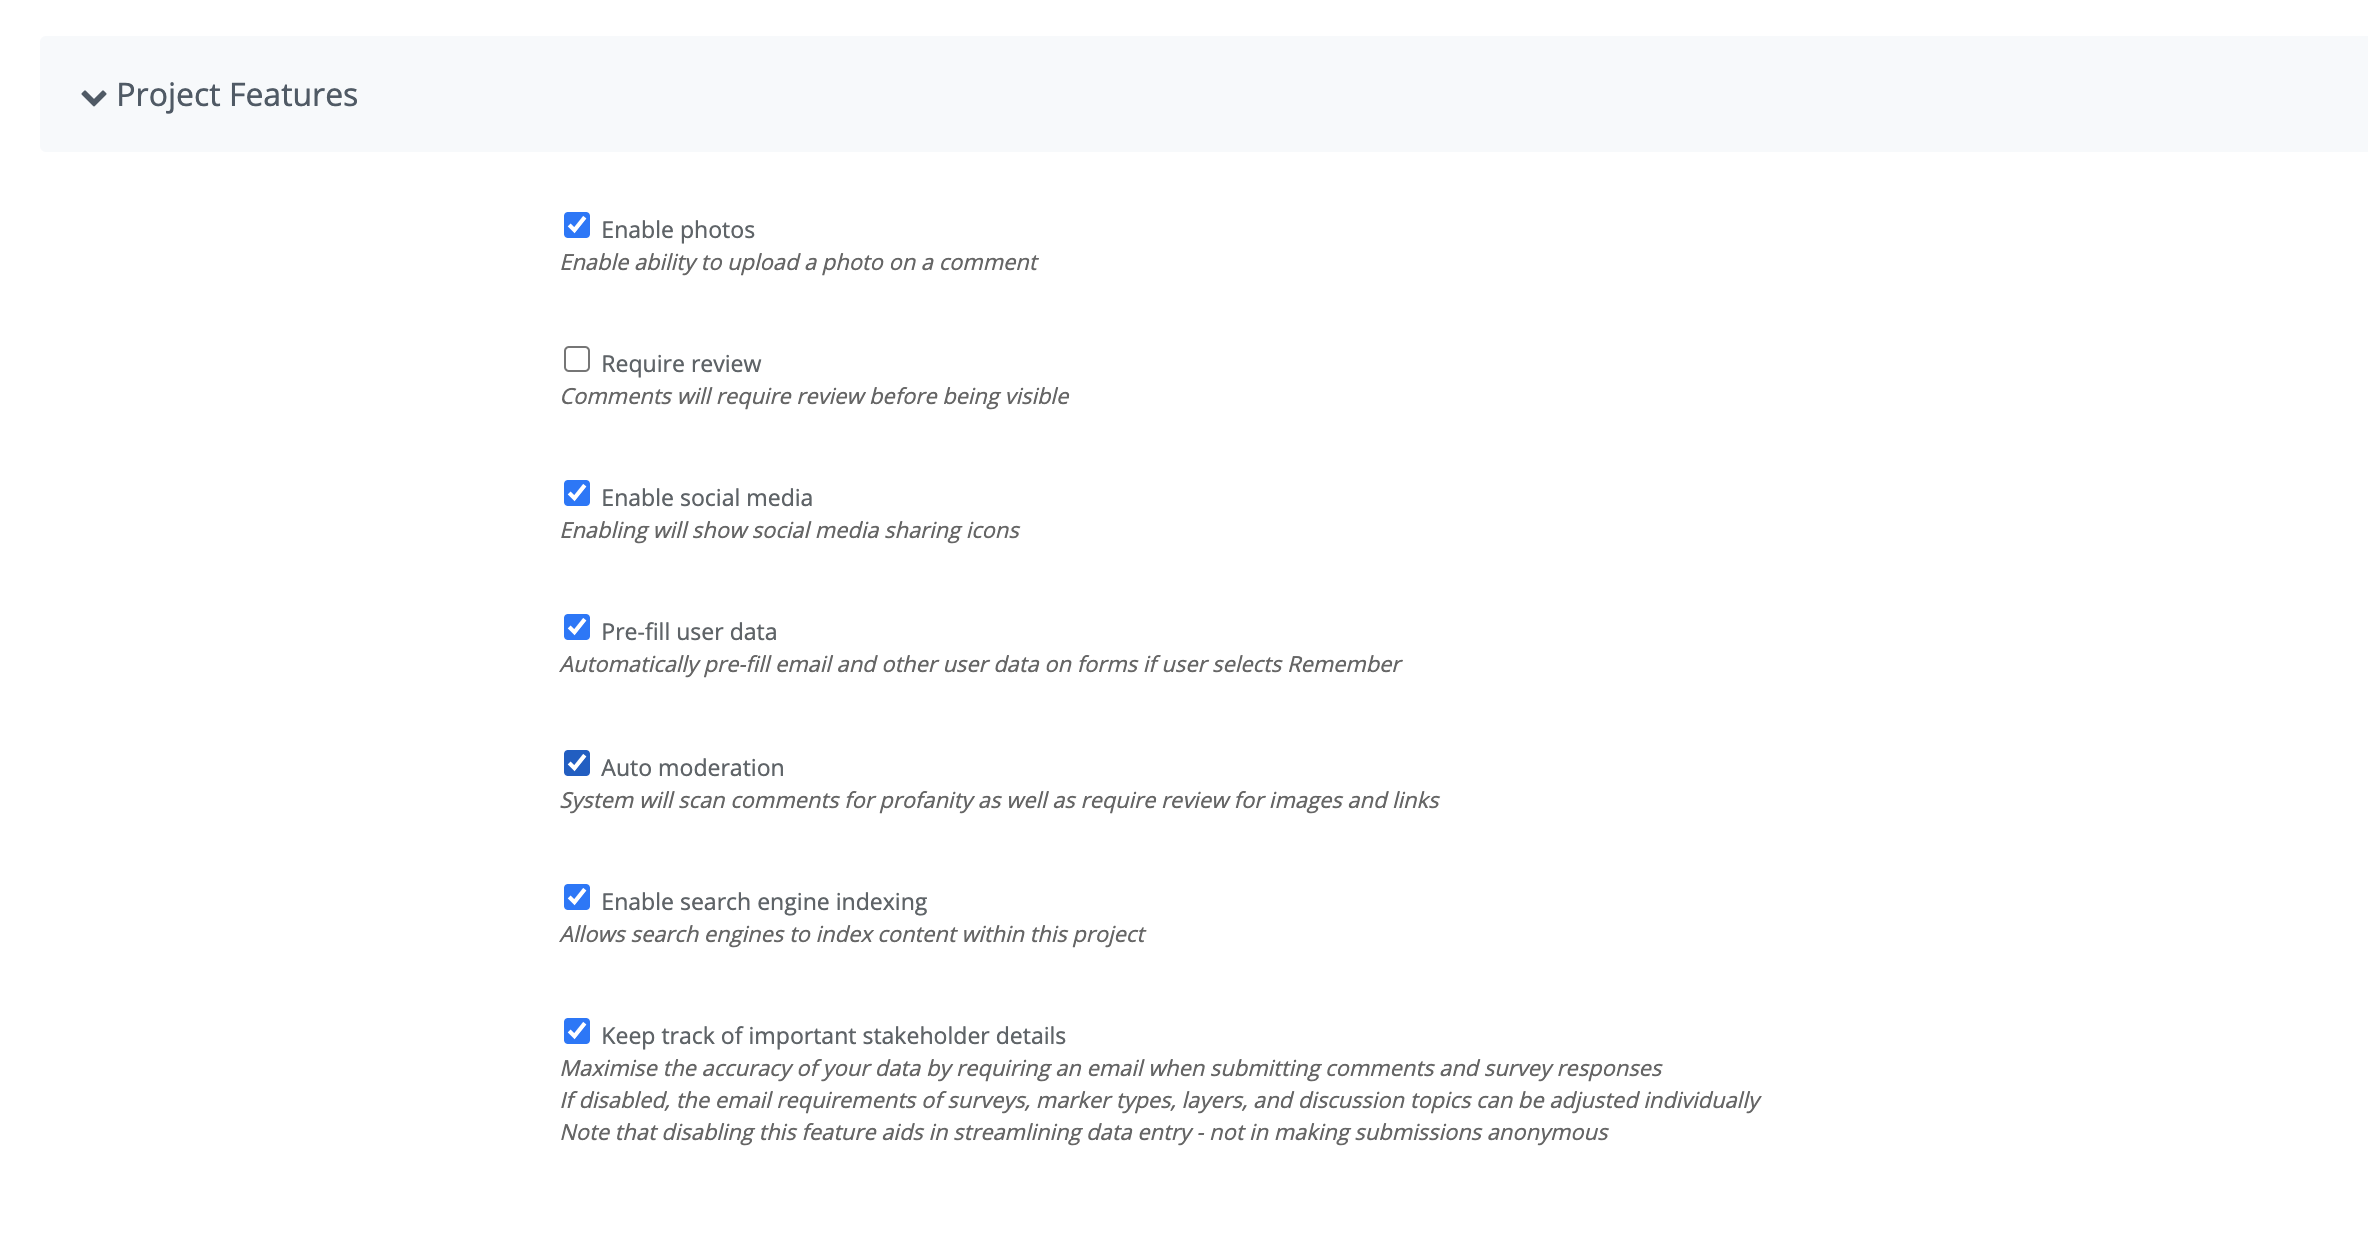
Enable Photos: When set users can upload photos with comments
Require Review: When enabled all comments must be reviewed before being visible to the public on the map.
ℹ️ Note: if you are logged in and are viewing the map, you will see all reviewed and unreviewed comments. This is so you can view them in context as you're reviewing.
Enable Social Media: Enable/ Disable Facebook, Twitter and Google integration for users to share their comments
Pre-fill user data: Automatically pre-fill email and other user data on forms if user selects Remember
Auto moderation: With this option enabled, the system automatically scans all comments for profanity, URLs and Images and ensures that they are not visible until they are reviewed by an administrator.
Enable Search Engine Indexing: Allow search engines to index the contents of this page for searching
Keep track of important stakeholder details: Allows you to turn off the email field from comments, survey and discussions.
ℹ️ Note: Disabling user emails across your entire project can cause less accurate stakeholder reporting and is not recommended.
Enable Google Translate: Allows users to automatically translate all features on your project using Google Translate.
Map Settings
Open address search bar when map loads: Address search bar will open by default once the map loads
Open filter menu when map loads: Filter menu will open by default once the map loads

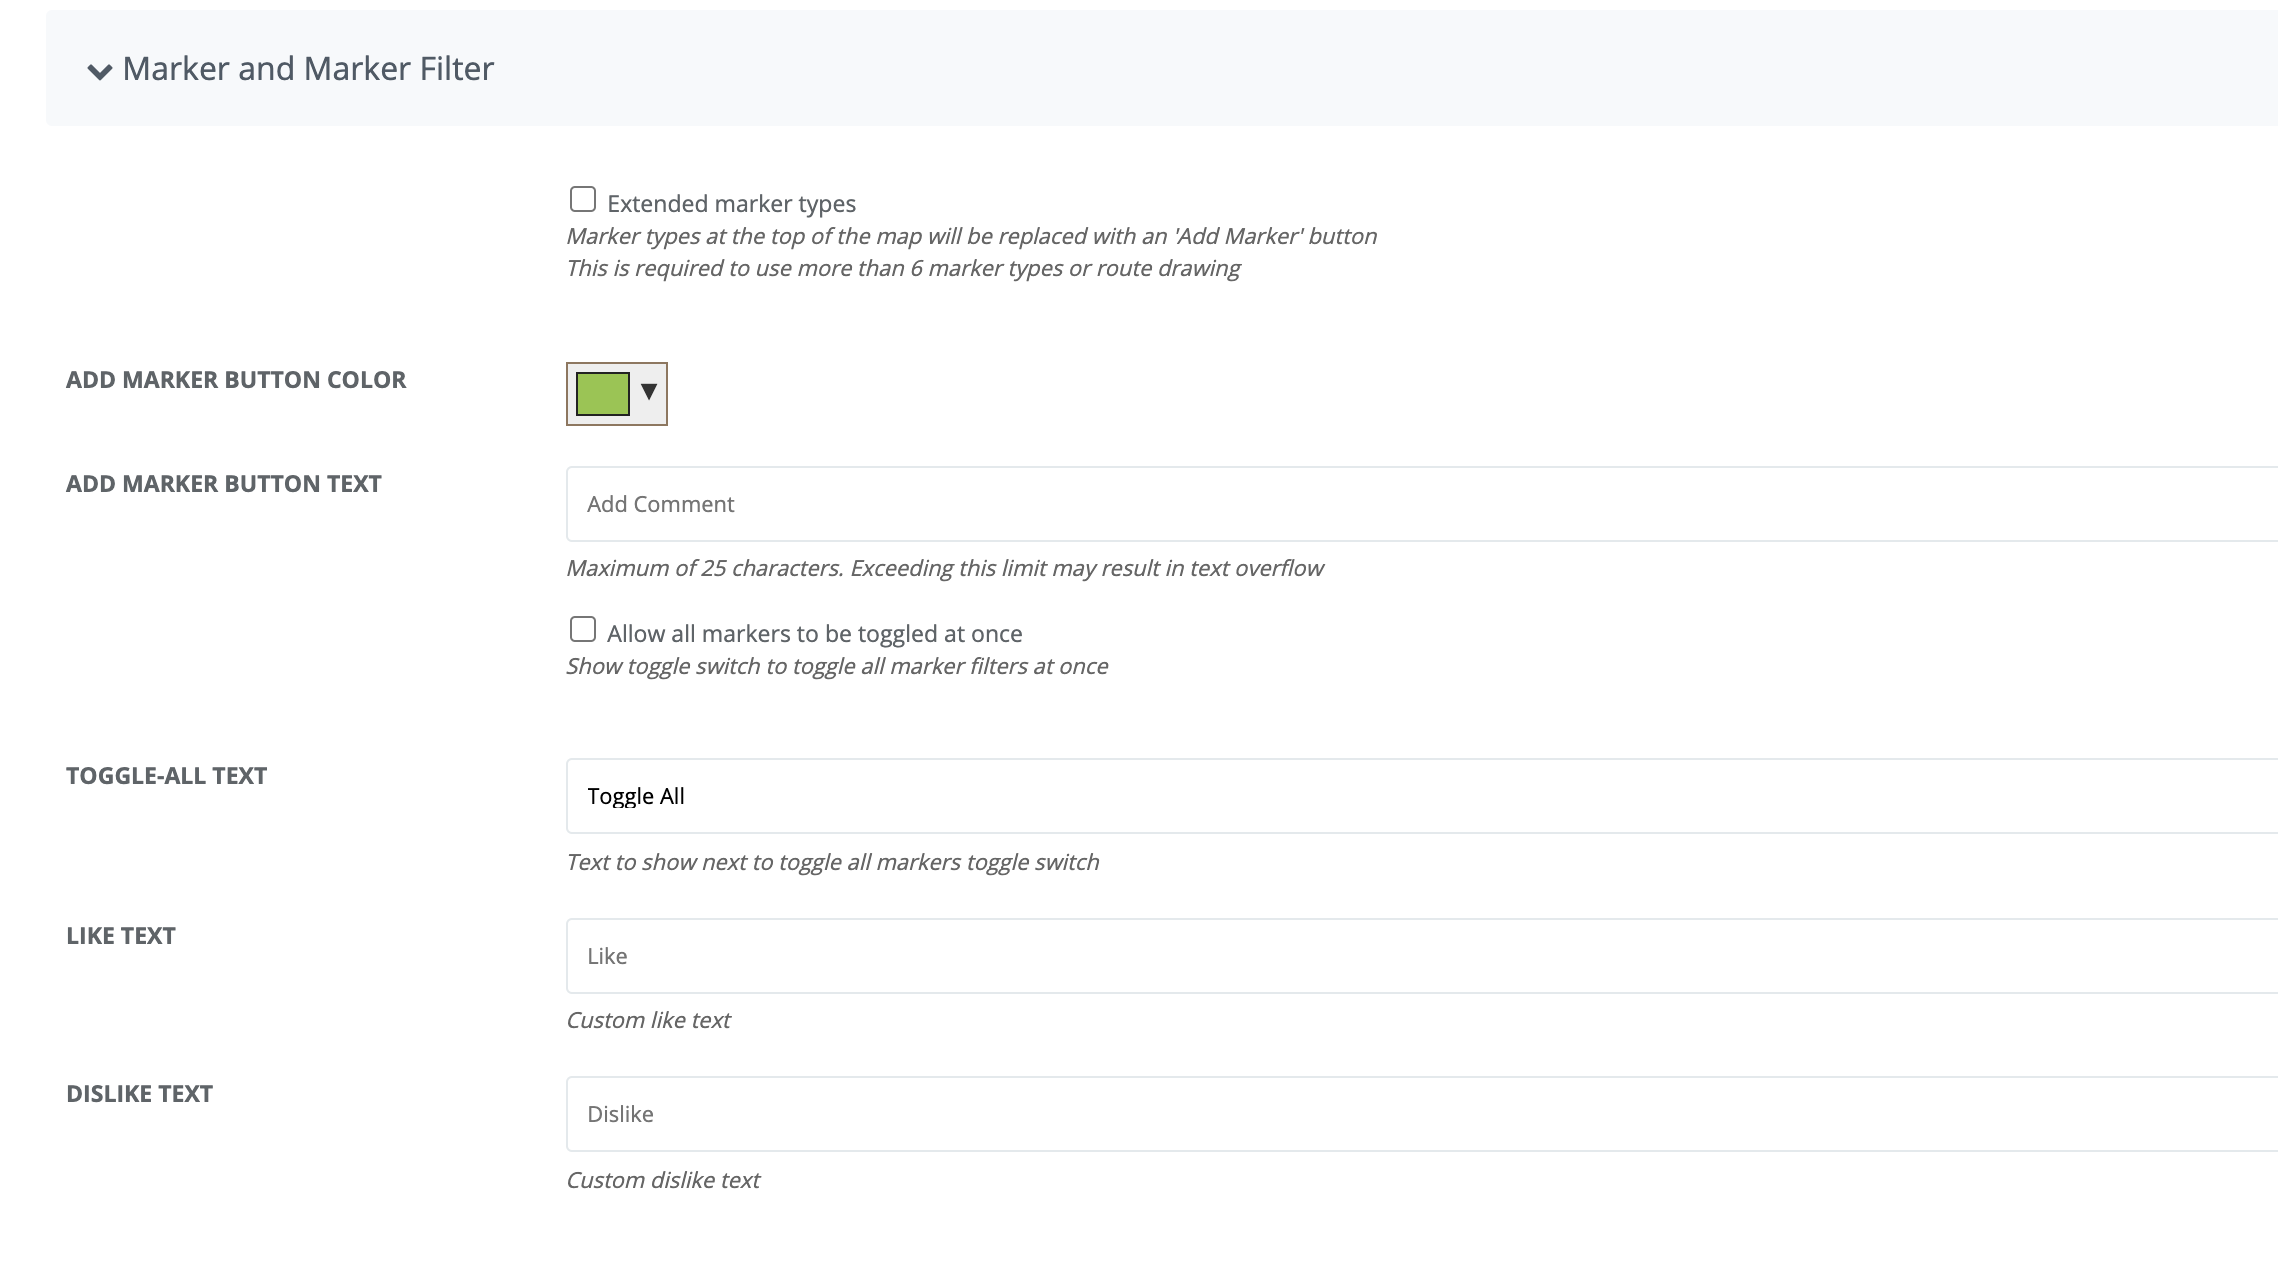
Marker and Marker Filter Settings
Extended marker types: Marker types at the top of the map will be replaced with an 'Add Marker' button. This is required to use more than 6 marker types or route drawing.
Extender Marker Button Colour: Change the colour of the extended marker button
Extended Marker Button Text: Configure the text on the extended marker button
Allow all markers to be toggled at once: Show toggle switch to toggle all marker filters at once
Toggle All Text: Text to show next to toggle all markers toggle switch
Like Text: Configure the 'like' text that is visible on comments and info markers
Dislike Text: Configure the 'dislike' text that is visible on comments and info markers
Translations
Force the project to display in the given language or use the browsers auto detection
Enable Google Translate: Allows users to automatically translate the project text and feedback via Google Translate.

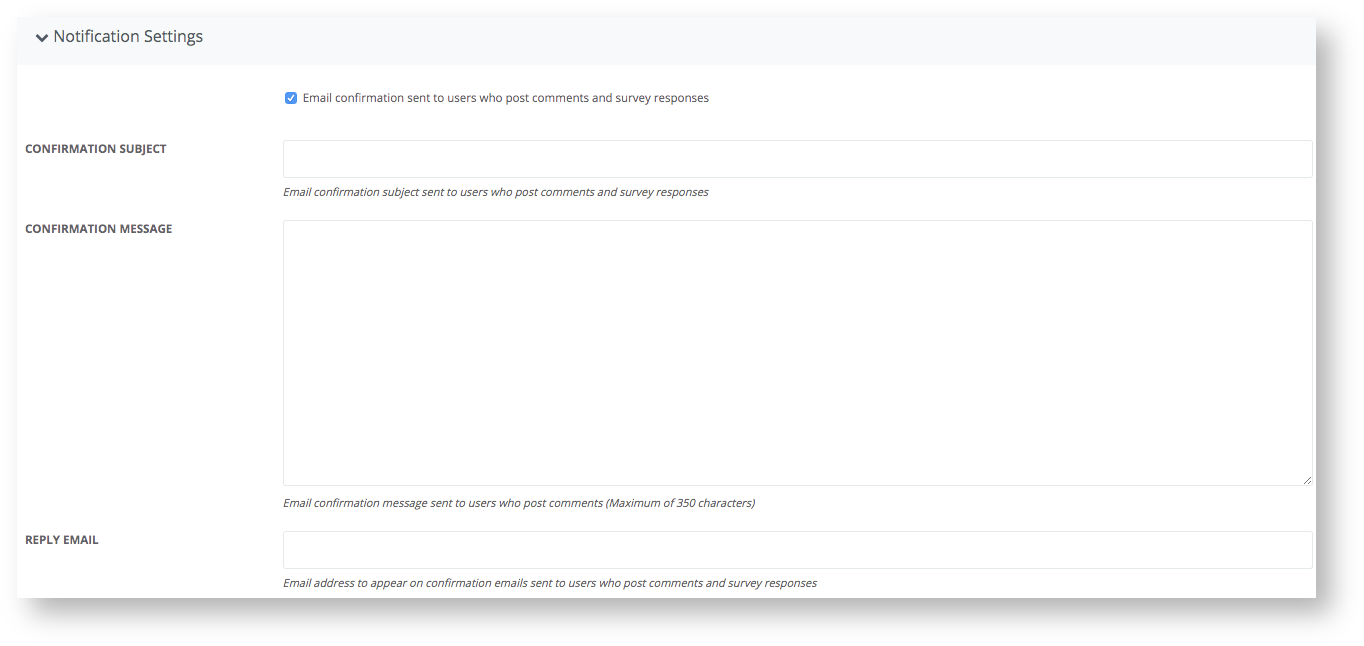
Notification Settings
Email users: This setting must be enabled for any email notifications. It enables a customisable email to be sent to users who post comments and complete surveys. You can also set the reply email to appear on the confirmation emails.
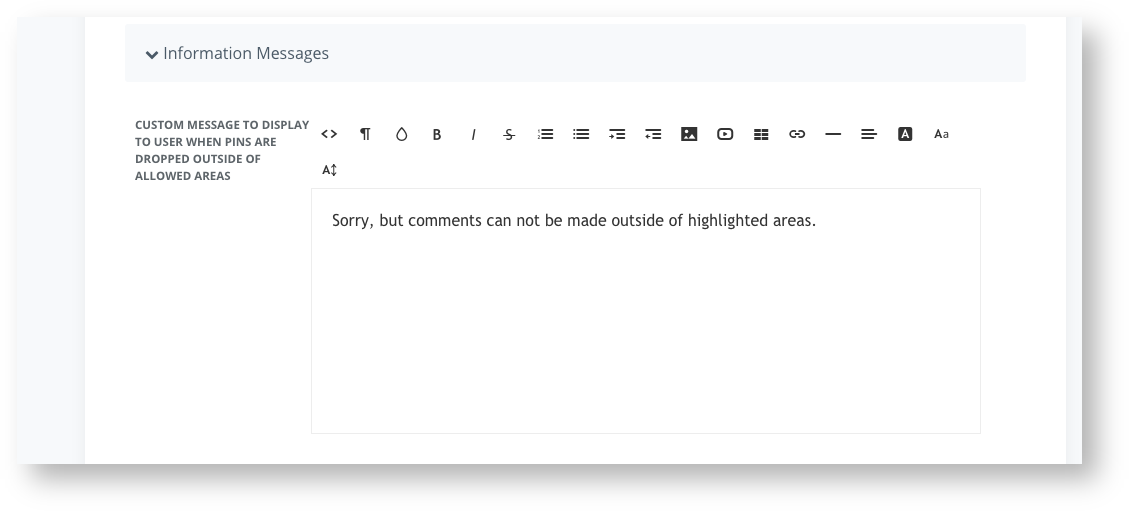
Information Messages
Add a custom message to users when they attempt to drop pins outside the allowed areas on the map
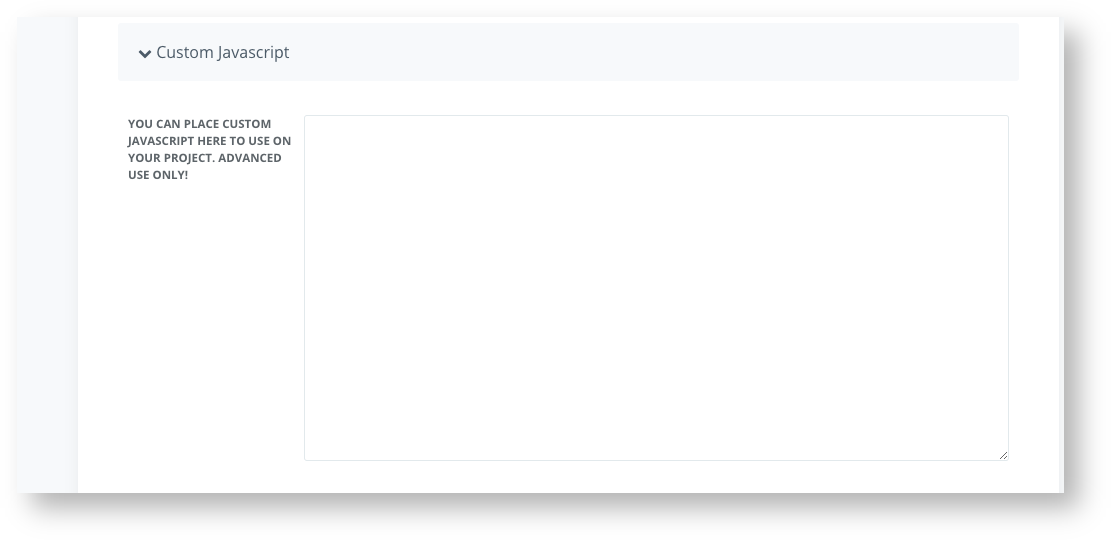
Custom Javascript
You can place custom Javascript here to include such features as;
-
Your own Google Analytics tracker
-
Chatbot
-
Lead Generator
Your own Google Analytics tracker
Chatbot
Lead Generator
