Project Setup - Auto-Tagging
Configure auto-tagging of stakeholder responses
Social Pinpoint's Auto-Tagging feature allows you to quickly identify and apply tags to responses without needing to manually review and tag each piece of feedback.
The first step to setting up auto-tagging is to view the identified key phrases in your consultation.
Log in to your Social Pinpoint Admin site and follow the below steps to set up Auto-Tagging.
Note: This can be done during or post consultation.
Select a current project using the edit button on the Welcome Screen, or create a new project.
Once in the project, click Setup.

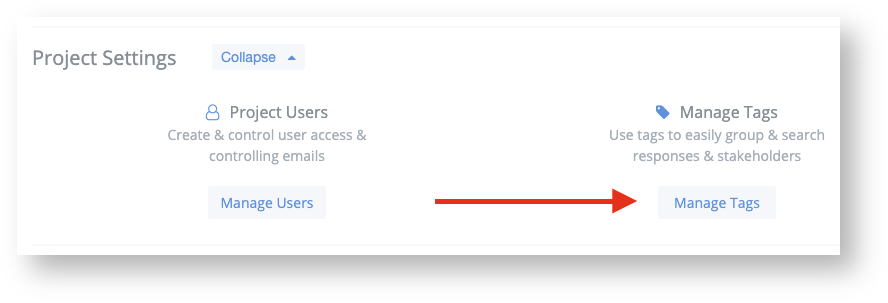
Click Manage Tags under the Project Settings section.
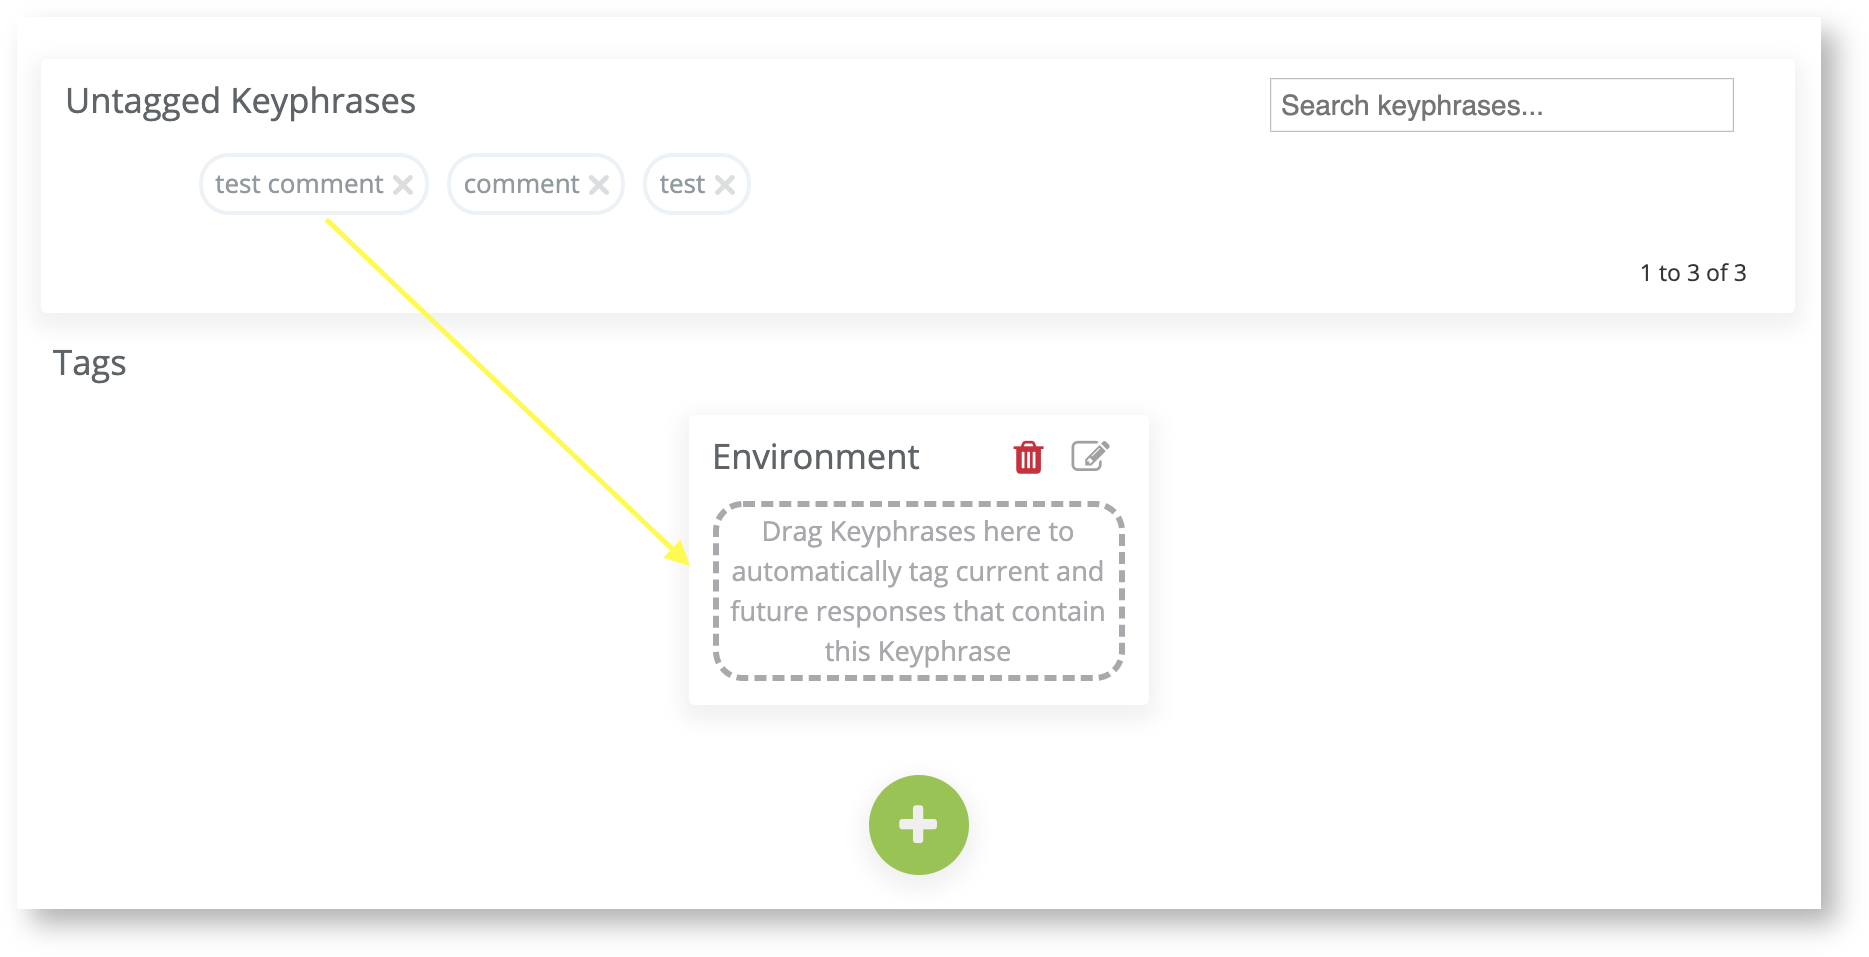
If your consultation has received responses, you'll see key phrases populated here.
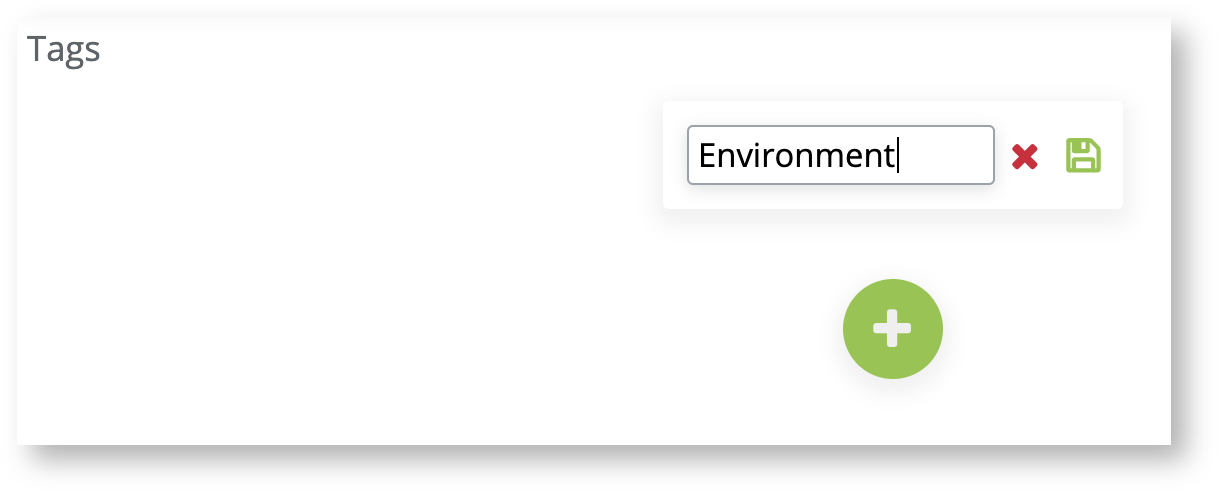
To add a new tag, click the green + button.

Enter tag name: Enter a brief one or two word name for your comment tag.
Be sure to press the green disk icon to save your tag.
Note: Tags are for internal use only and are not visible to the public.
Match key phrases to your newly created tag by dragging and dropping the relevant key phrase into the dotted rectangle underneath the tag.
Repeat the previous step followed by this step for as many tags as needed.
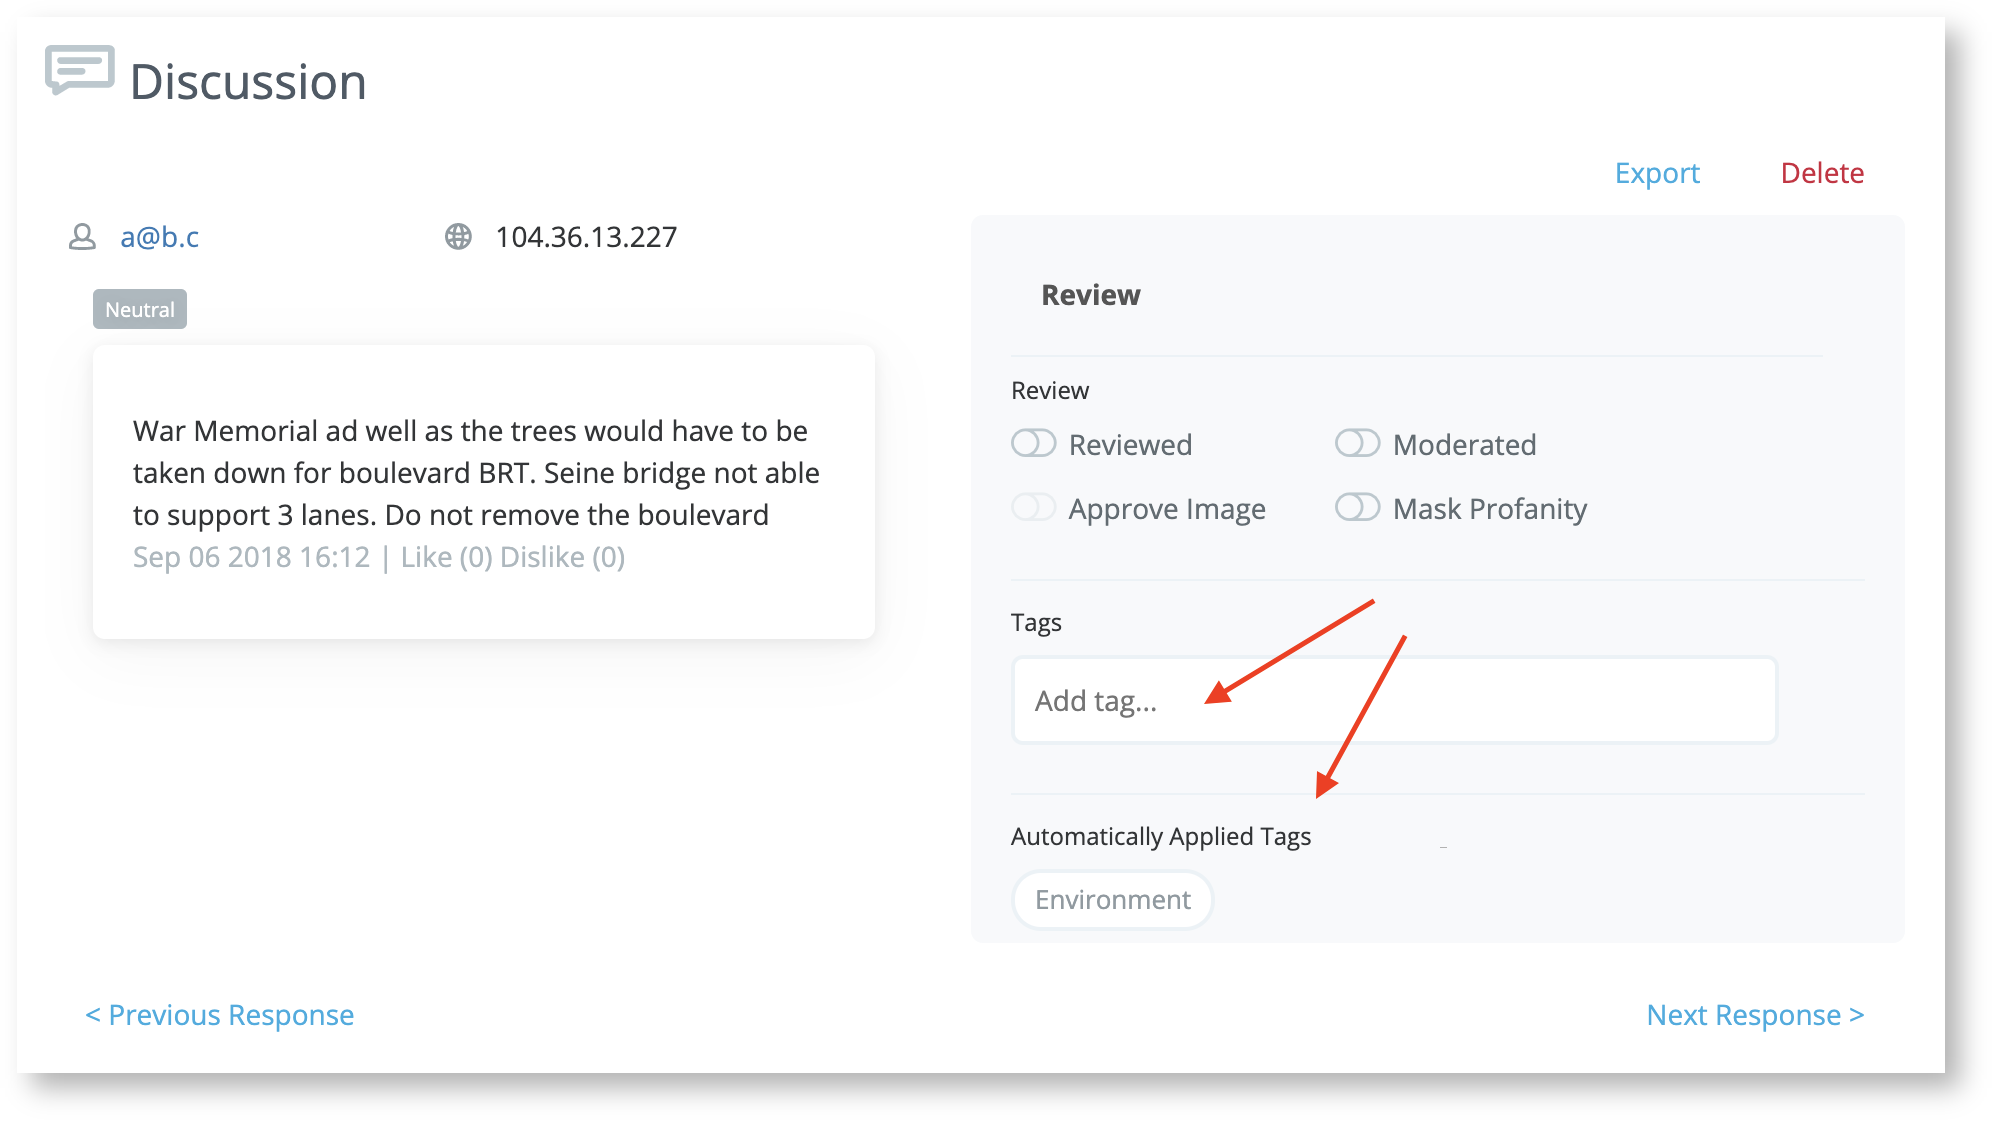
Once created, tags automatically applied will be shown under the 'Tags' section on the Review interface for Comments and Survey Responses.
Administrators can also add additional tags for each comment or survey response here.
Tip: For Comments, remember to tick Review once you have finished your review.
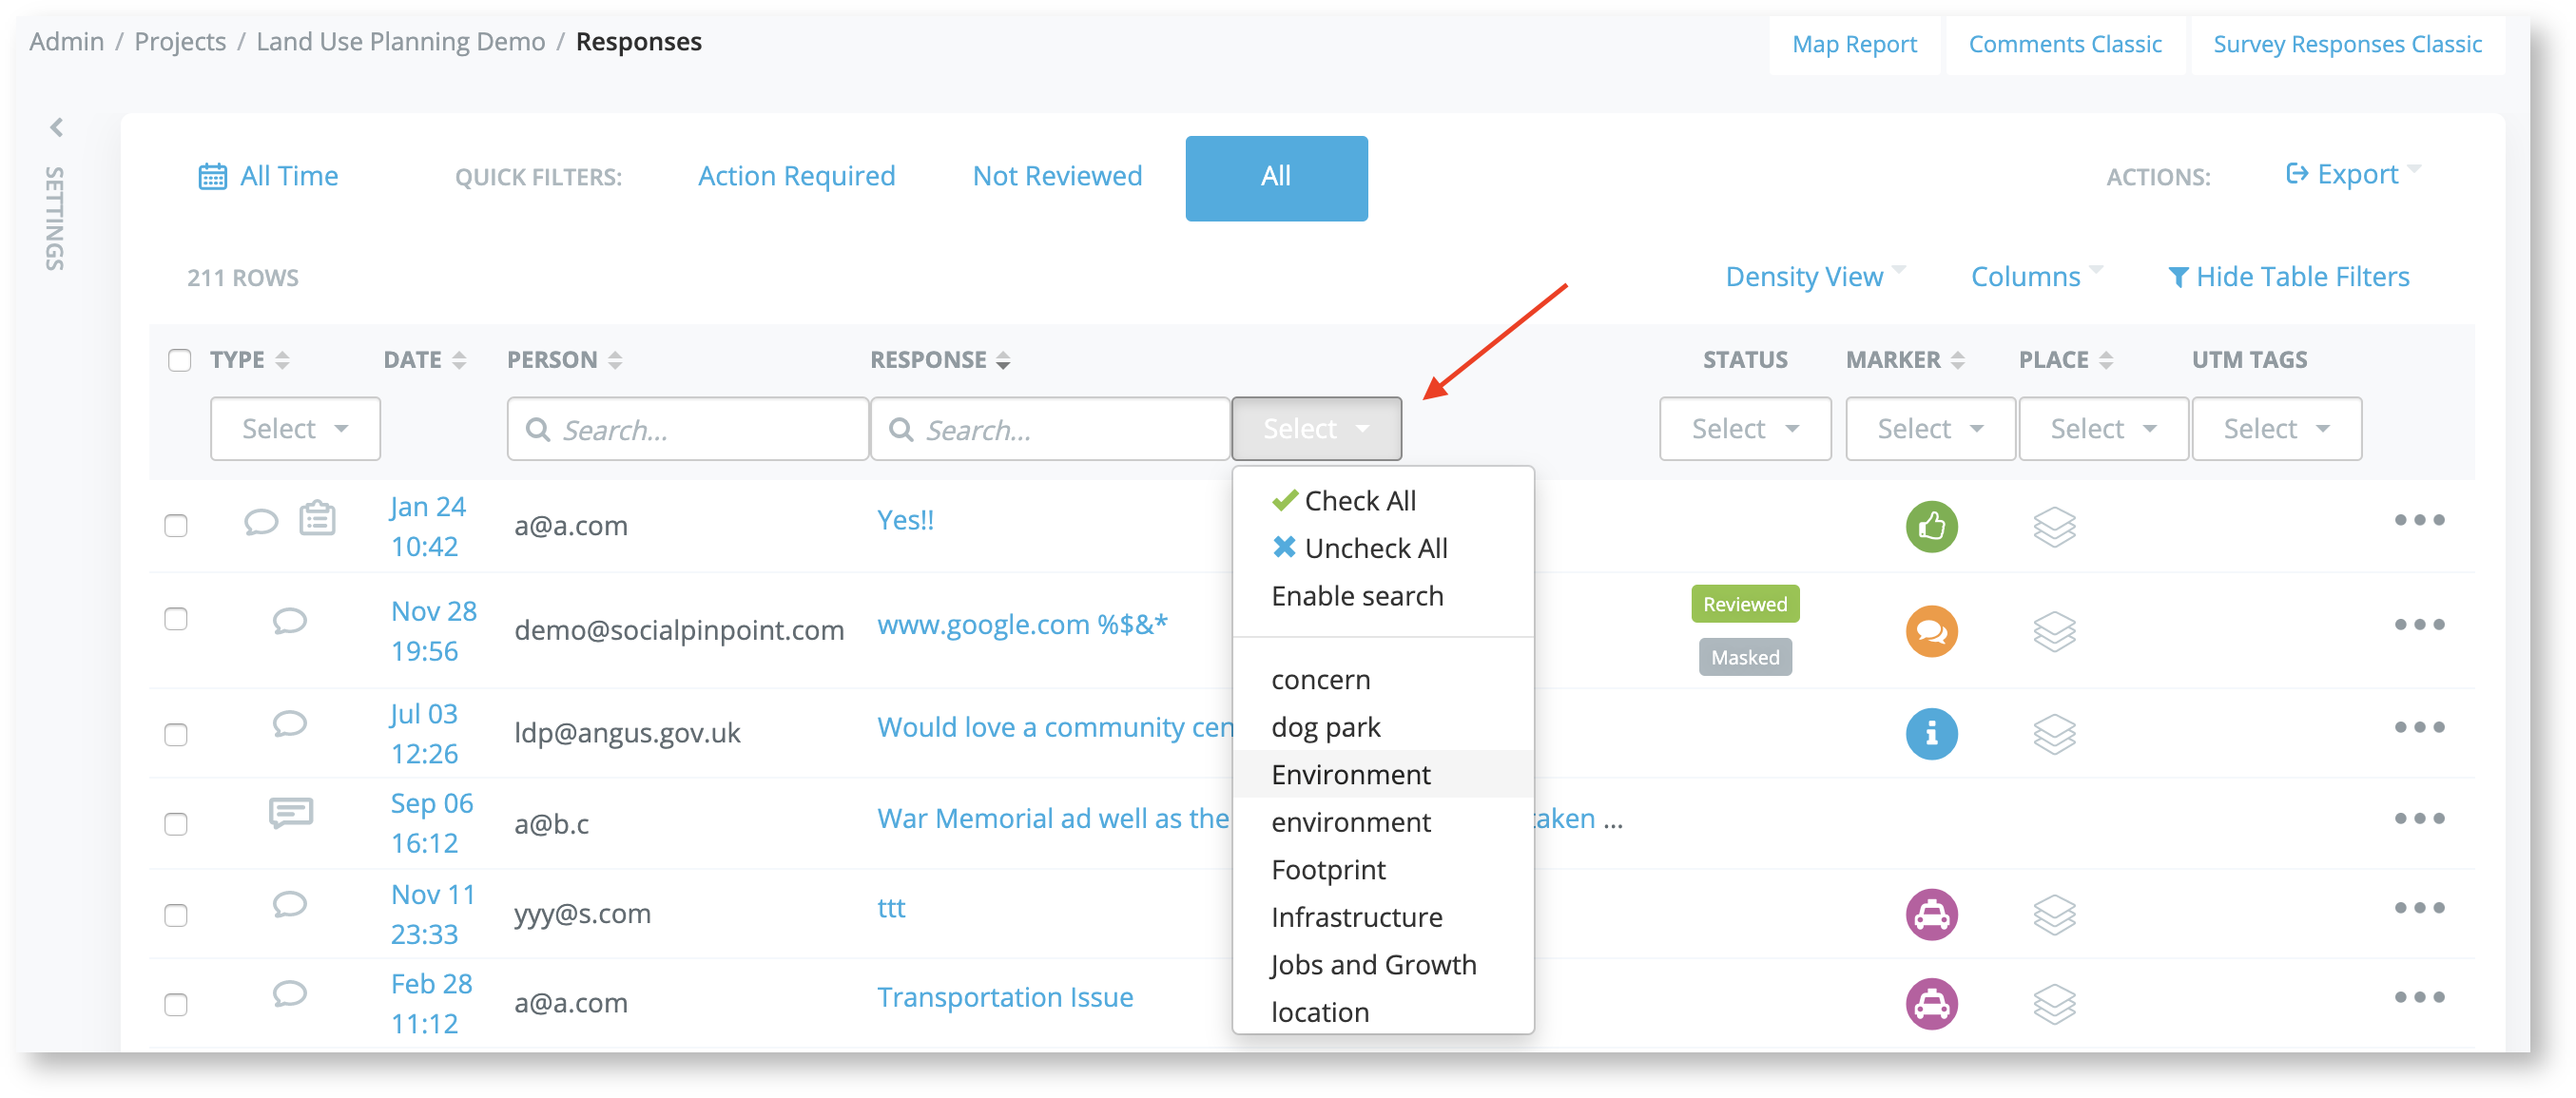
In your Responses interface, Comments and Survey Responses can be filtered using your Tag categories.
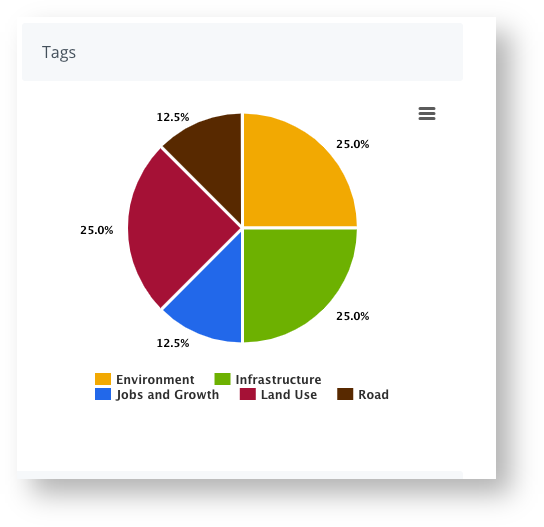
Tags on Comments are also added as a chart to your project Dashboard.
You can print or download to PDF or image format by clicking the menu button on the top right.
You can also include a Tag column to your excel spreadsheet when you export the data.
