Project Setup - Basemap
How to configure the basemap settings for your project(s).
-
Log in to your Social Pinpoint Admin site
-
Select the Edit button next to your project
-
Follow the guide below to configure the various settings and options
Log in to your Social Pinpoint Admin site
Select the Edit button next to your project
Follow the guide below to configure the various settings and options
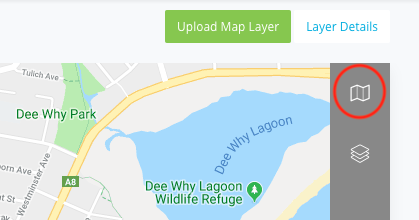
If the right-hand side bar is collapsed, press the grey icon found on the top right-hand side of the map.
⚠️ Note: Basemap options are dependent upon your Social Pinpoint subscription. Please contact us for further assistance.
Details & Basic Map Settings
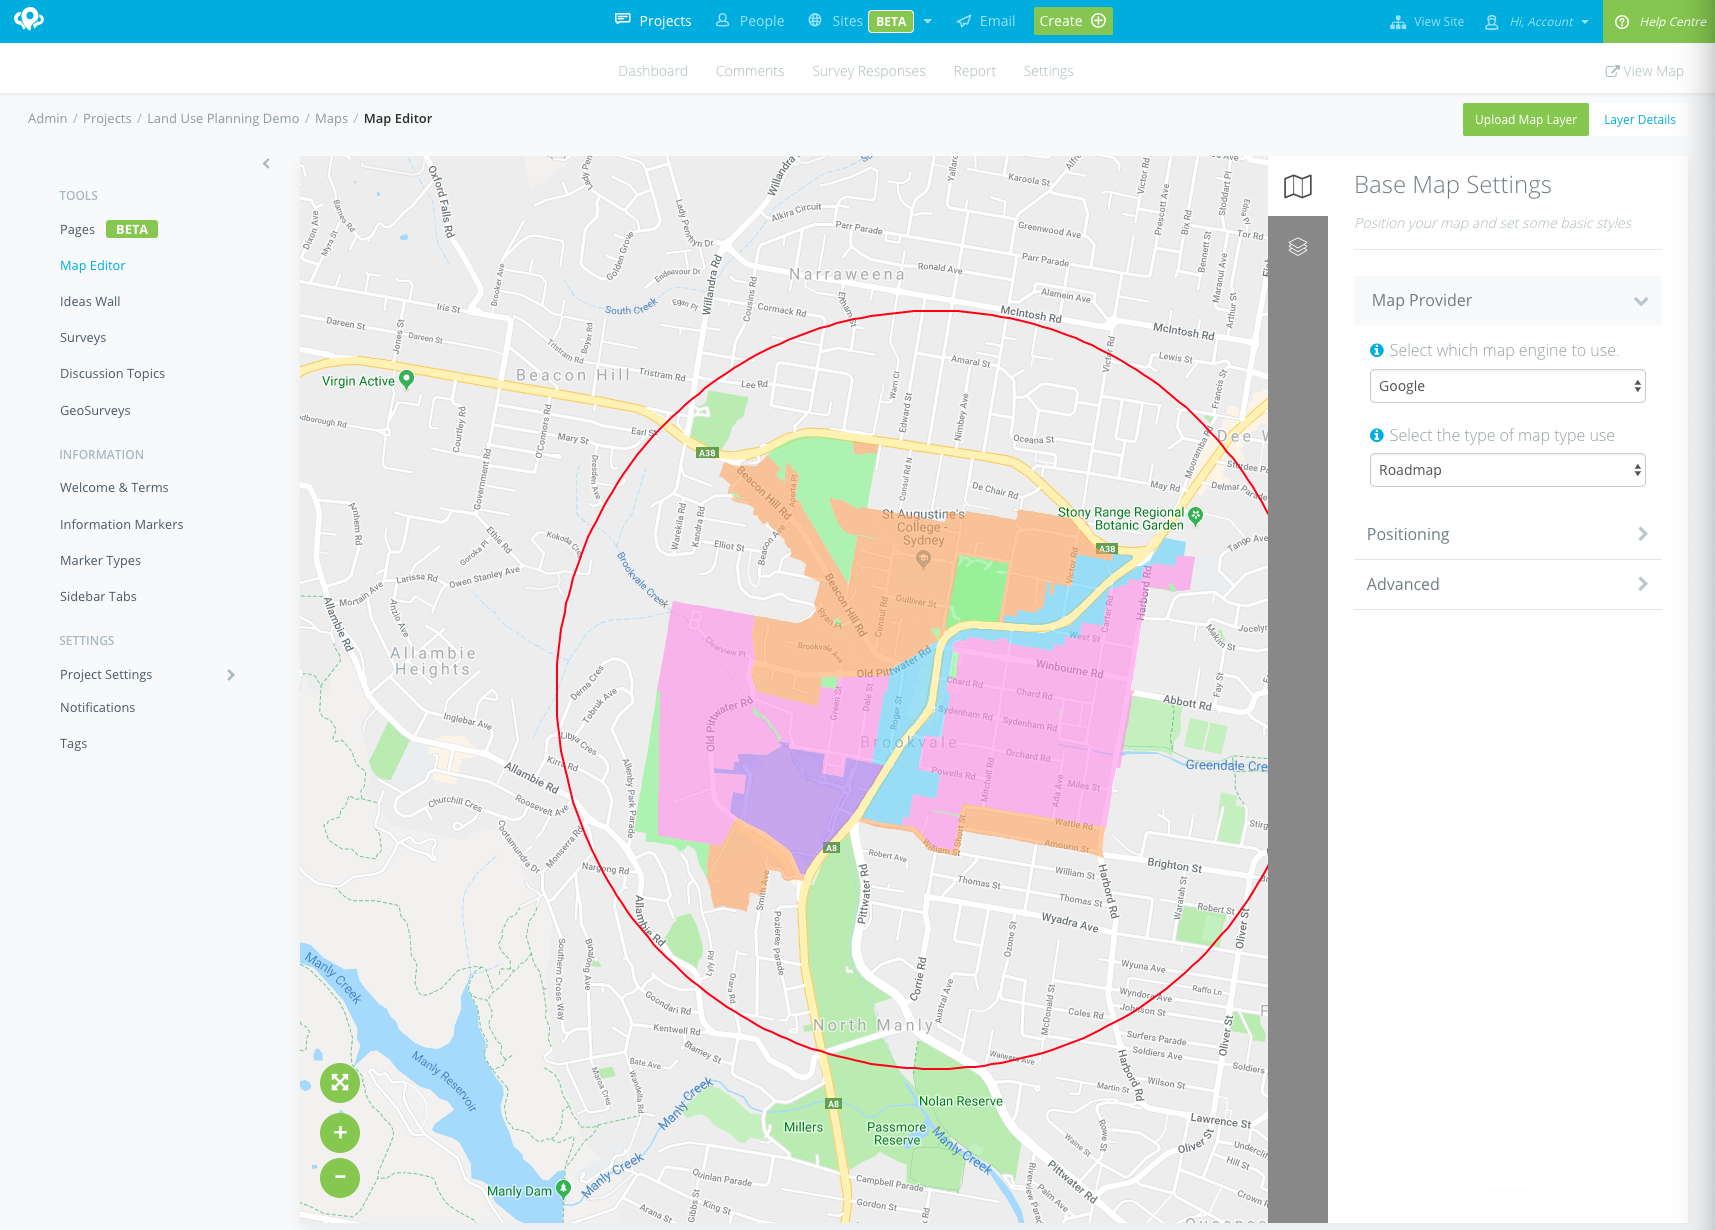
There are multiple map engines available in Social Pinpoint from various map providers who provide different style options and satellite imagery. Your choice will be dependent upon your project.
Base Map Settings
Select the map engine you would like to use for your project from the list. These will be dependent upon your project and your Social Pinpoint Subscription type.
Current basic mapping options include:
-
Basemap - Open Street Map
-
Basemap - Google
-
Basemap - HERE
-
Basemap - Basic Maps
-
Basemap - Training Map
-
Basemap - Blank Map (good for image based maps)
-
Basemap - Nearmap
-
Basemap - WMTS
Basemap - Open Street Map
Basemap - Google
Basemap - HERE
Basemap - Basic Maps
Basemap - Training Map
Basemap - Blank Map (good for image based maps)
Basemap - Nearmap
Basemap - WMTS
Advanced Mapping basemap options include the above and the following addons:
-
Basemap - Custom Mapbox
-
Basemap - ESRI ArcGIS
Basemap - Custom Mapbox
Basemap - ESRI ArcGIS
For map specific properties please follow the above links.
Basic Map Style: Select the map style you would like to use for your project from the list. These will also be dependent upon your Social Pinpoint Subscription type.
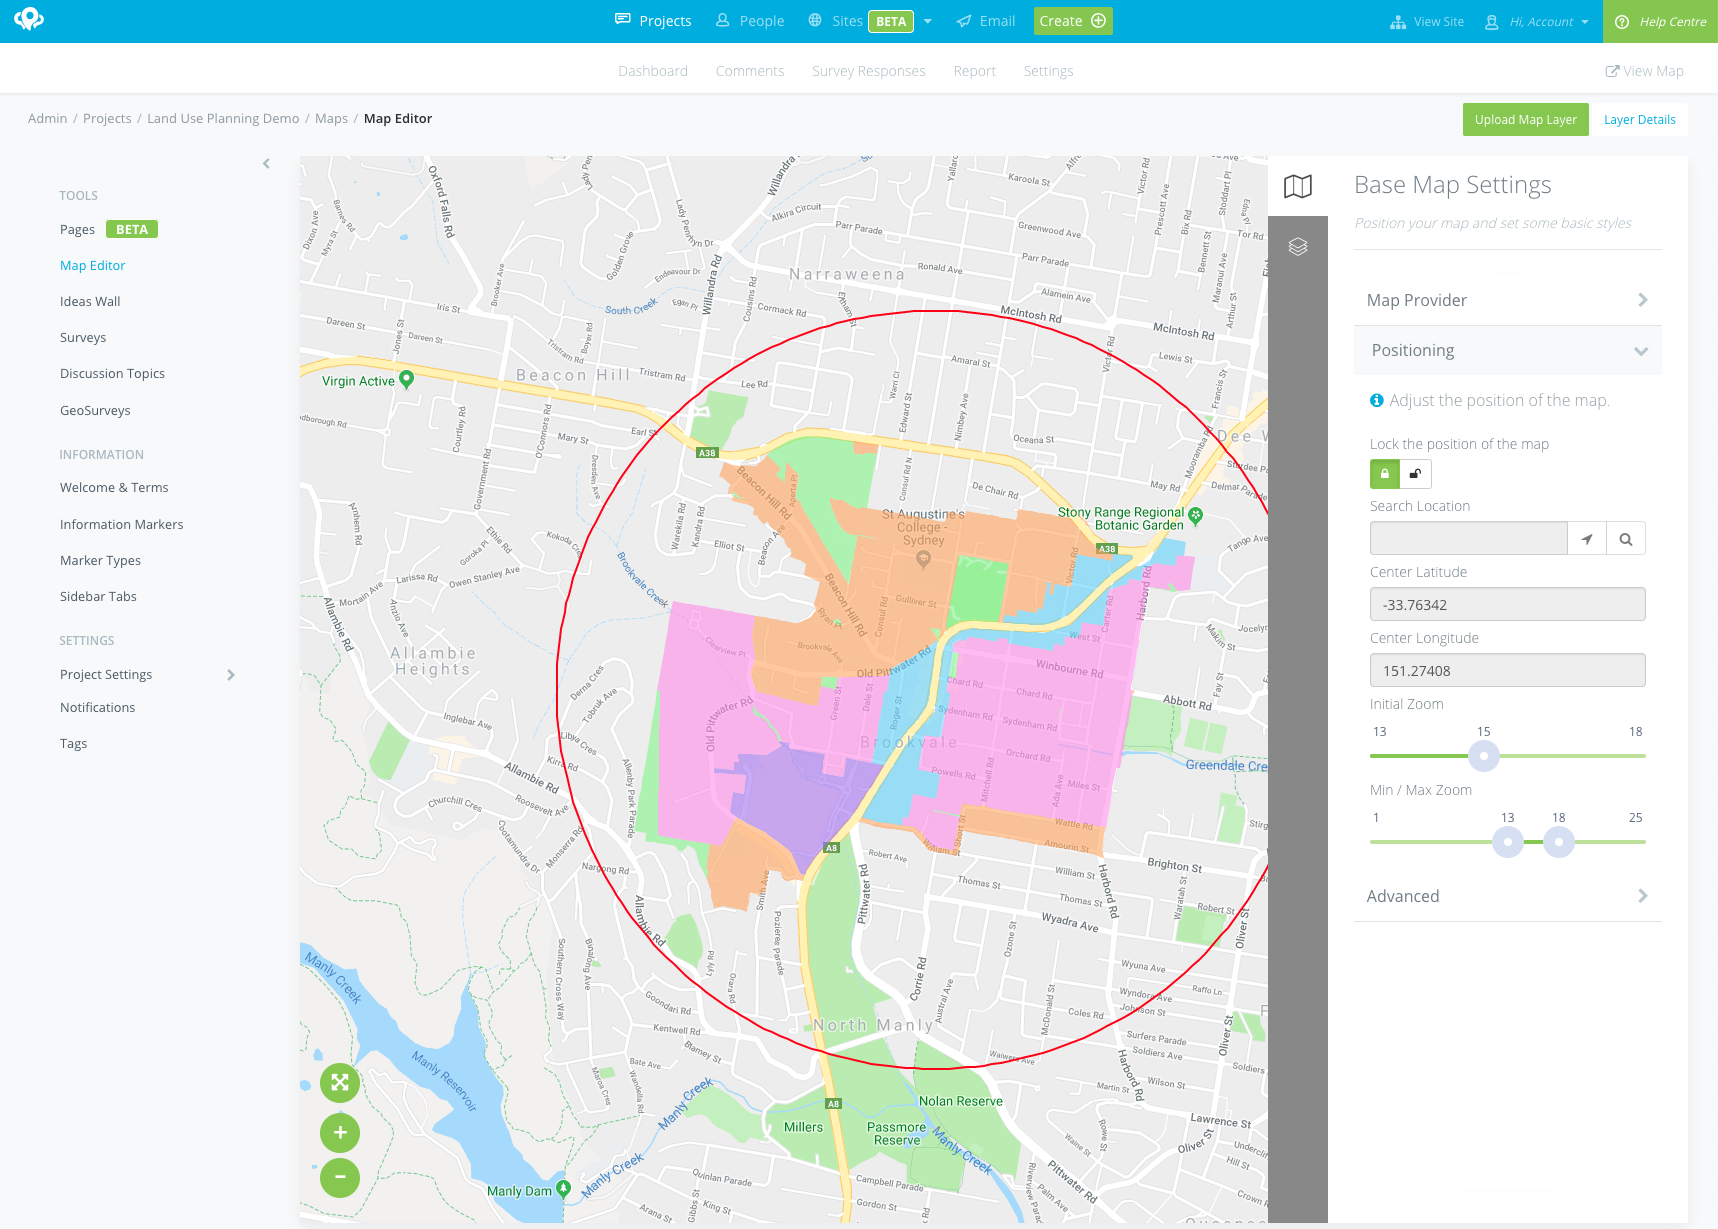
Positioning
This will save the initial default position of the map, users are able to zoom in/out and pan around the map. You can set the min/max zoom levels so users don’t zoom too far in or out of the project. Make sure your project area is clearly viewable in this default position and the initial zoom makes sense for the scale of the project.
Search Location: Search for the street address or suburb/town for your project.
Centre Latitude: Coordinates generated from the previewer or manually enter the desired position/ setting
Centre Longitude: Coordinates generated from the previewer or manually enter the desired position/ setting
Initial Zoom: Coordinates generated from the previewer or manually enter the desired position/ setting
Min zoom: Sets the minimum zoom level allowed
Max zoom: Sets the maximum zoom level - this is useful if low-level detail is not required
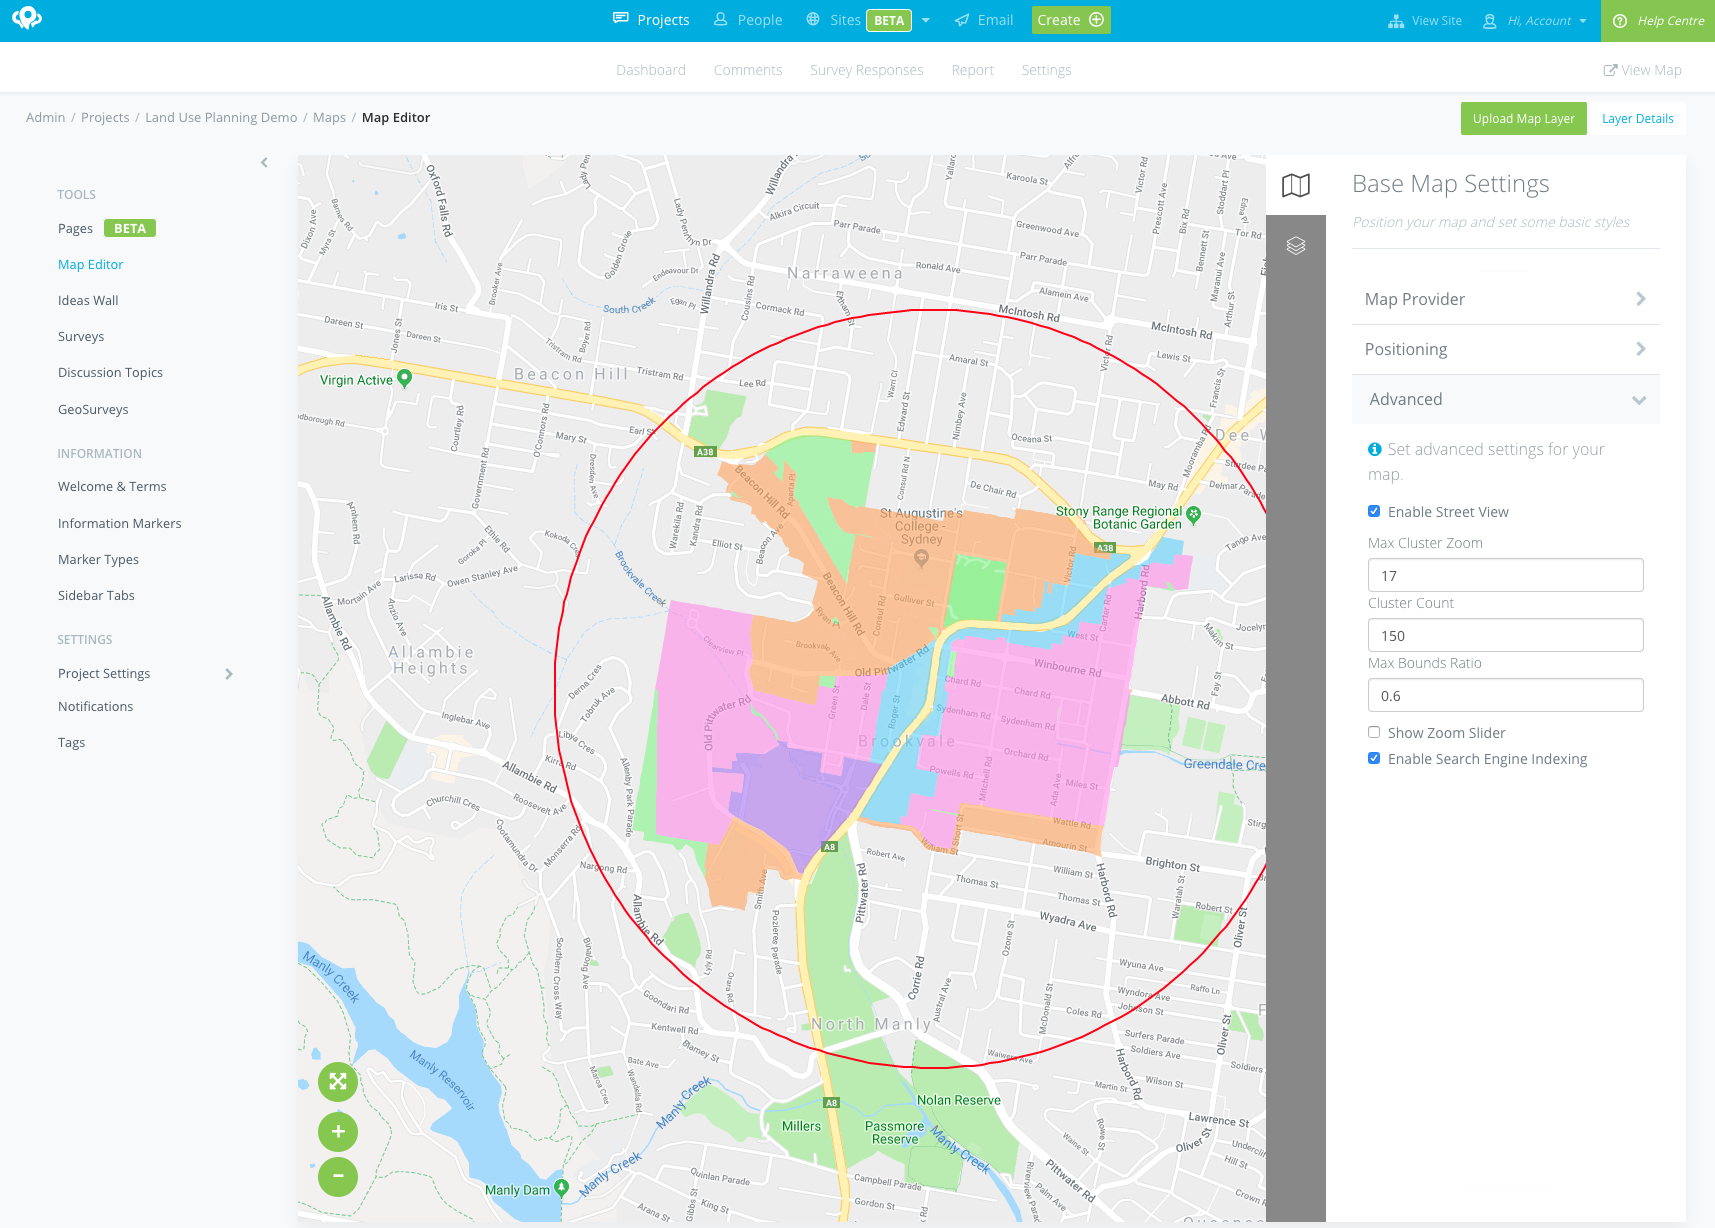
Advanced
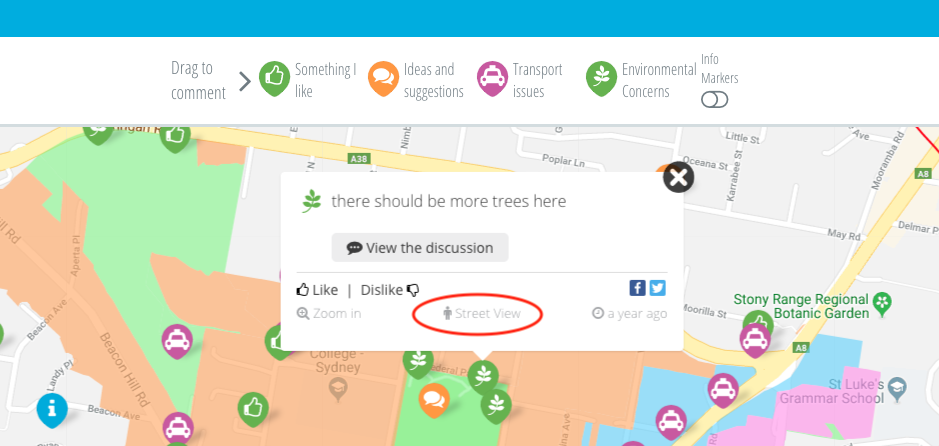
Enable Street view: allows user to go to Google Street view on a Comment Marker or Information Marker and view the area at street level.
Max Cluster Zoom: Zoom levels above this value will not cluster markers
Cluster Count: Clustering will begin when more than this number of markers are on the map
Max bounds ratio: Defines a limit of how far away from the initial area you can pan the basemap. e.g. a ratio of 0.5 means you can pan up to twice the distance away from the initial map extends. A value of 0 here disables this limit.
Non Geographic Map: You can enable this if you are displaying a custom image or a map that doesn't use latitude/longitude coordinates. This disables certain features such as address search and geolocate on the map.
