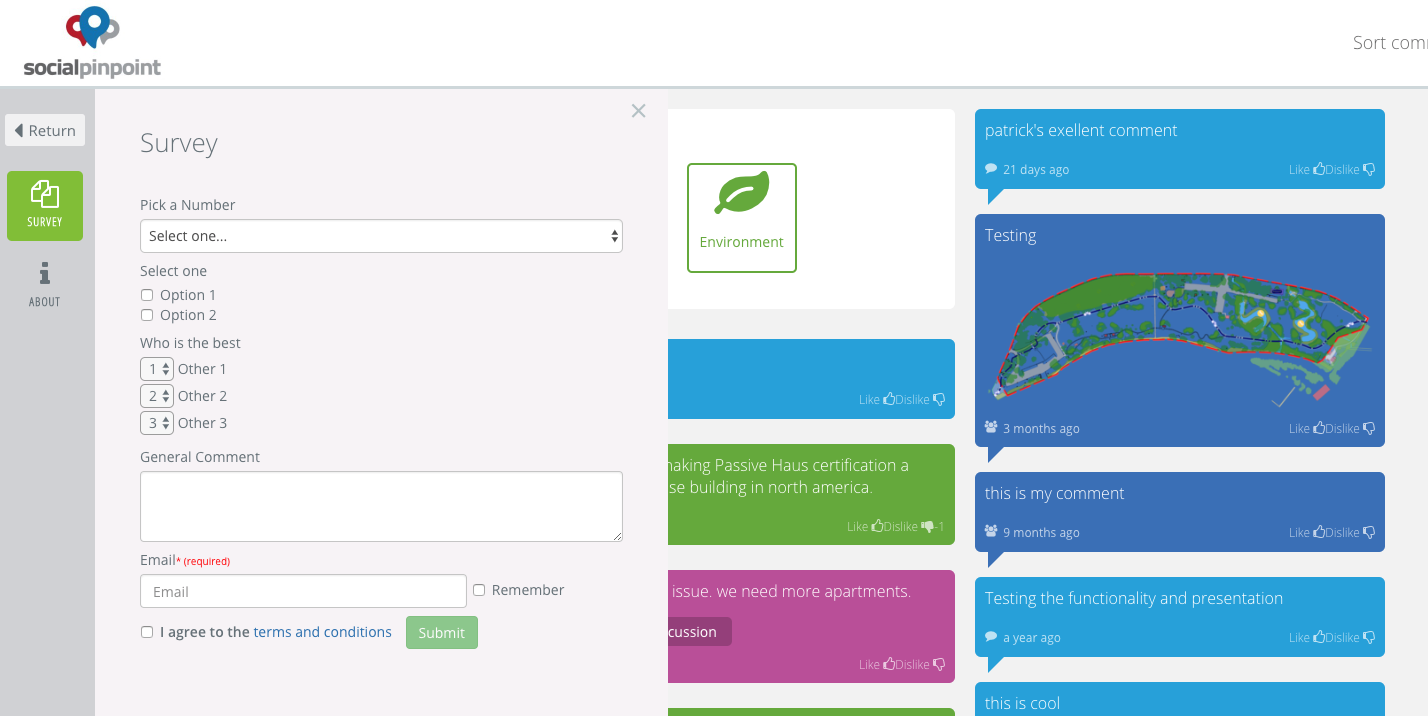
Project Setup - Ideas Wall
How to configure an Ideas Wall Project
To add new or configure your existing Social Pinpoint Ideas Wall.
-
Log in to your Social Pinpoint Admin site.
-
Select Create New Project
-
Follow the guide below to configure the various settings and options.
Log in to your Social Pinpoint Admin site.
Select Create New Project
Follow the guide below to configure the various settings and options.
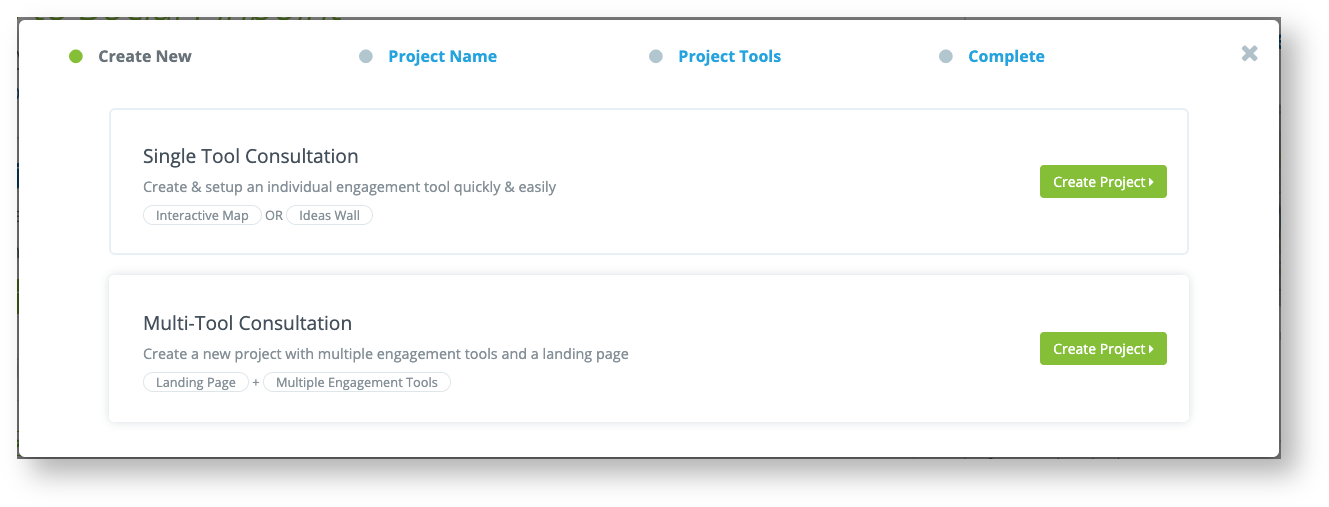
Choose either to have a "Single Tool Consultation" or "Multi-Tool Consultation" and then select "Create Project" from the right hand side.
Note: these settings can all be edited later, once you have gone through the setup wizard process.
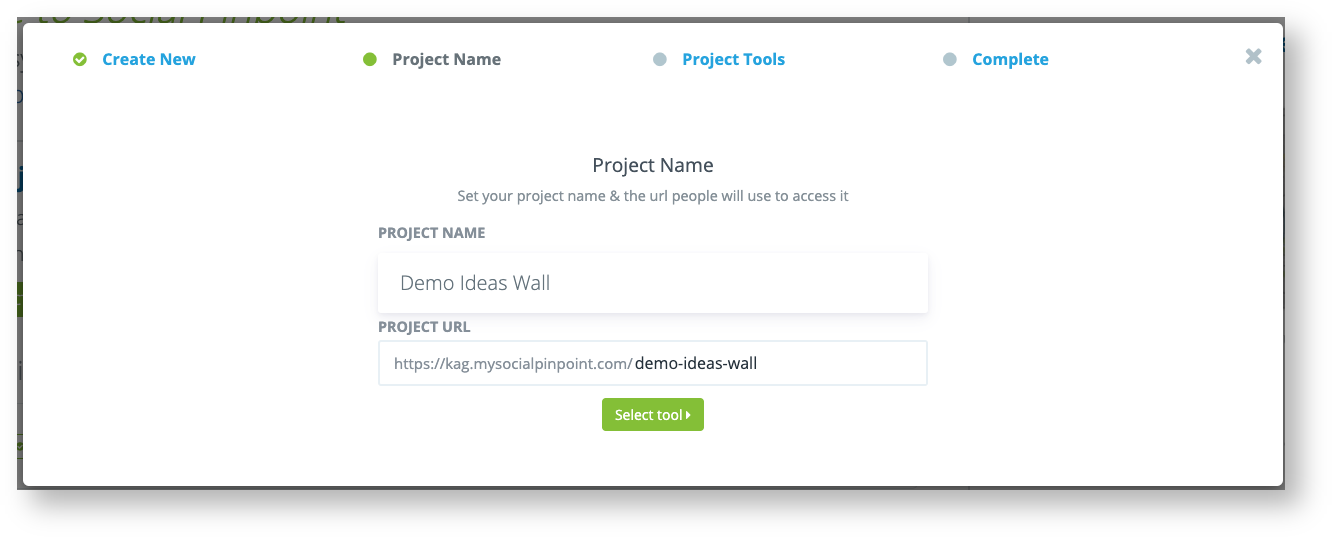
Give your project a name, this will automatically generate the slug for the project URL
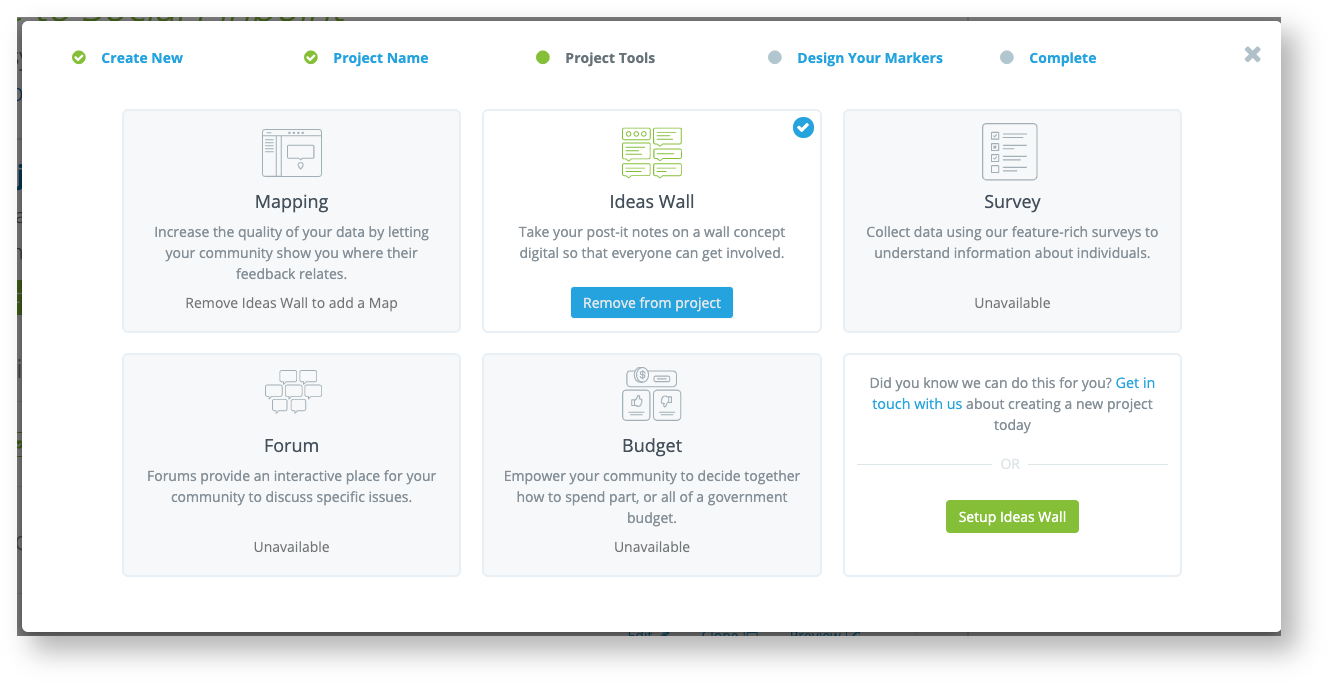
Select "Ideas Wall" and then click "Setup Ideas Wall".
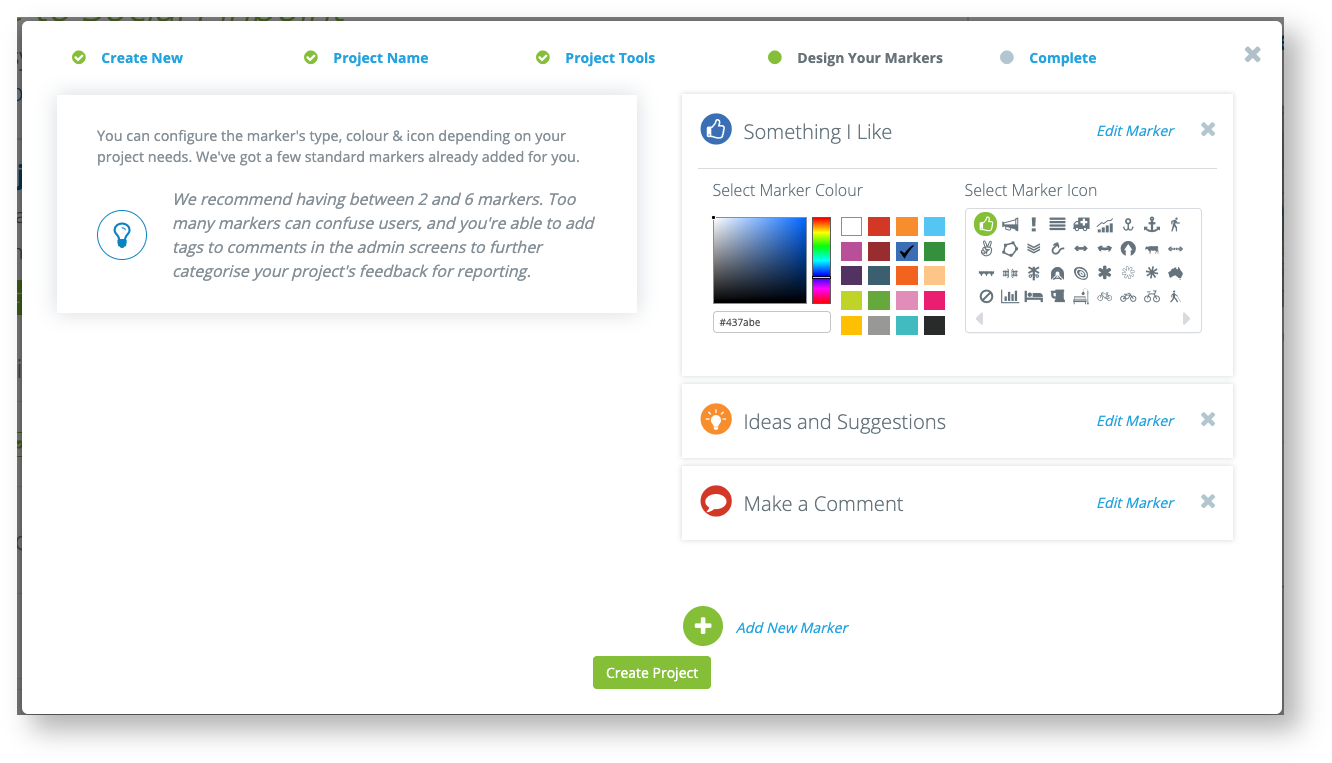
This is where you can View, Edit, Create or Delete your "Marker Types" (we have 3 default Markers here for you).
Select the colour and marker icon for each category.
Note: there is a maximum of 6 marker types per project.
Click "Create Project"
The basic setup is now complete!
Click "View" to open the Ideas Wall in another tab and start adding feedback

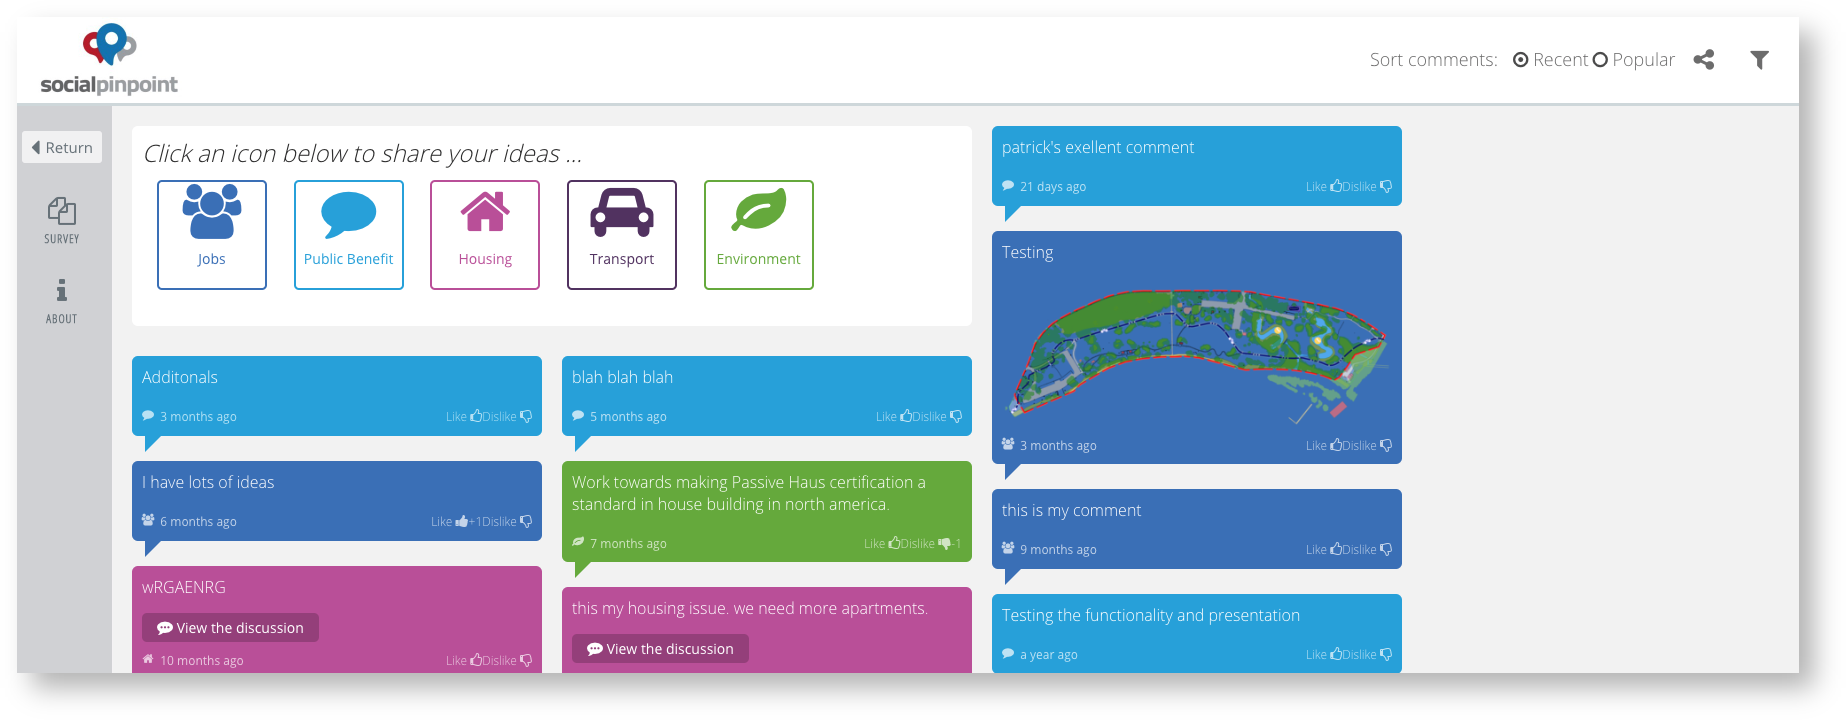
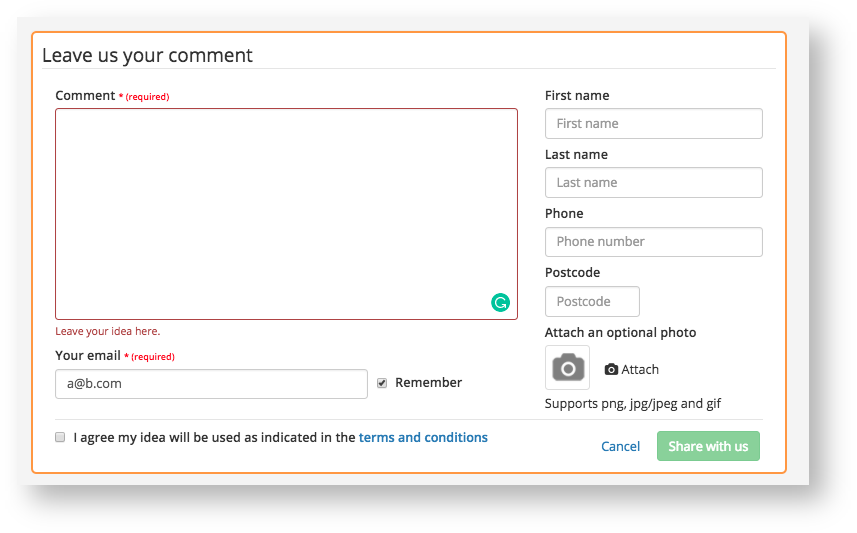
Ideas Wall Setup Screen
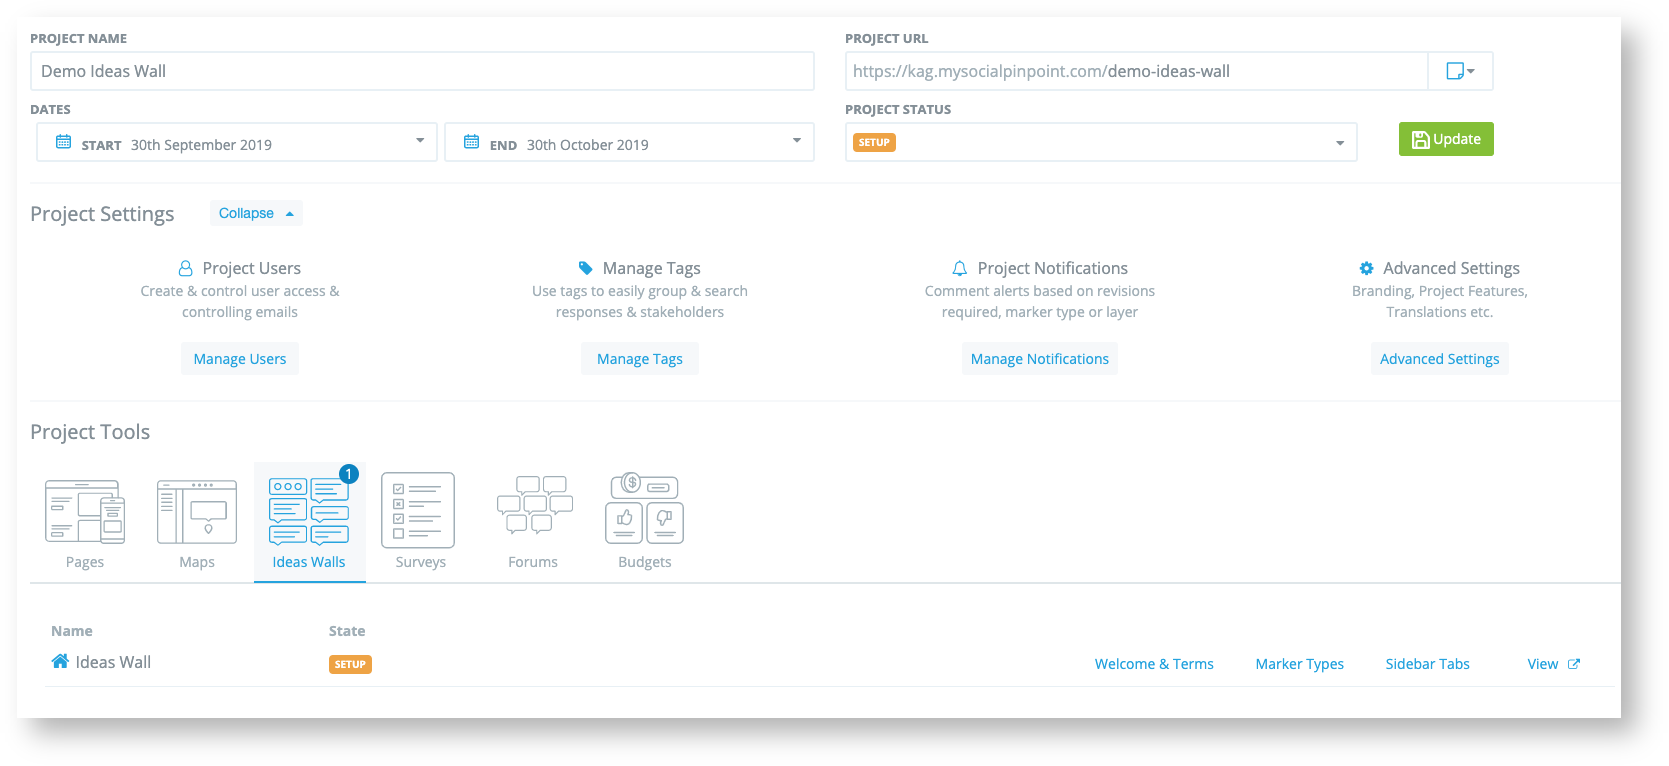
Welcome & Terms: Set your Welcome message and the Terms & Conditions for your project.
Marker Types: This is where you can View, Edit, Create or Delete Marker Types.
Sidebar Tabs: This is where you can View, Edit, Create or Delete Sidebar Tabs.
Advanced Settings: This is where you have more Advanced Settings below:
-
Branding
-
Project Features
-
Extended Marker Types
-
Translations
-
Notification Settings
-
Information Messages
-
Custom Javascript
Branding
Project Features
Extended Marker Types
Translations
Notification Settings
Information Messages
Custom Javascript
Using Surveys with an Ideas Wall
Surveys can be configured to be within the sidebar tab or after a participant posts a comment.
This can be configured in the settings for your sidebar tab or marker type
