Project Setup - Interactive Map
This guide will show you how to create an Interactive Map project
Log into the Admin Site of your Social Pinpoint account.
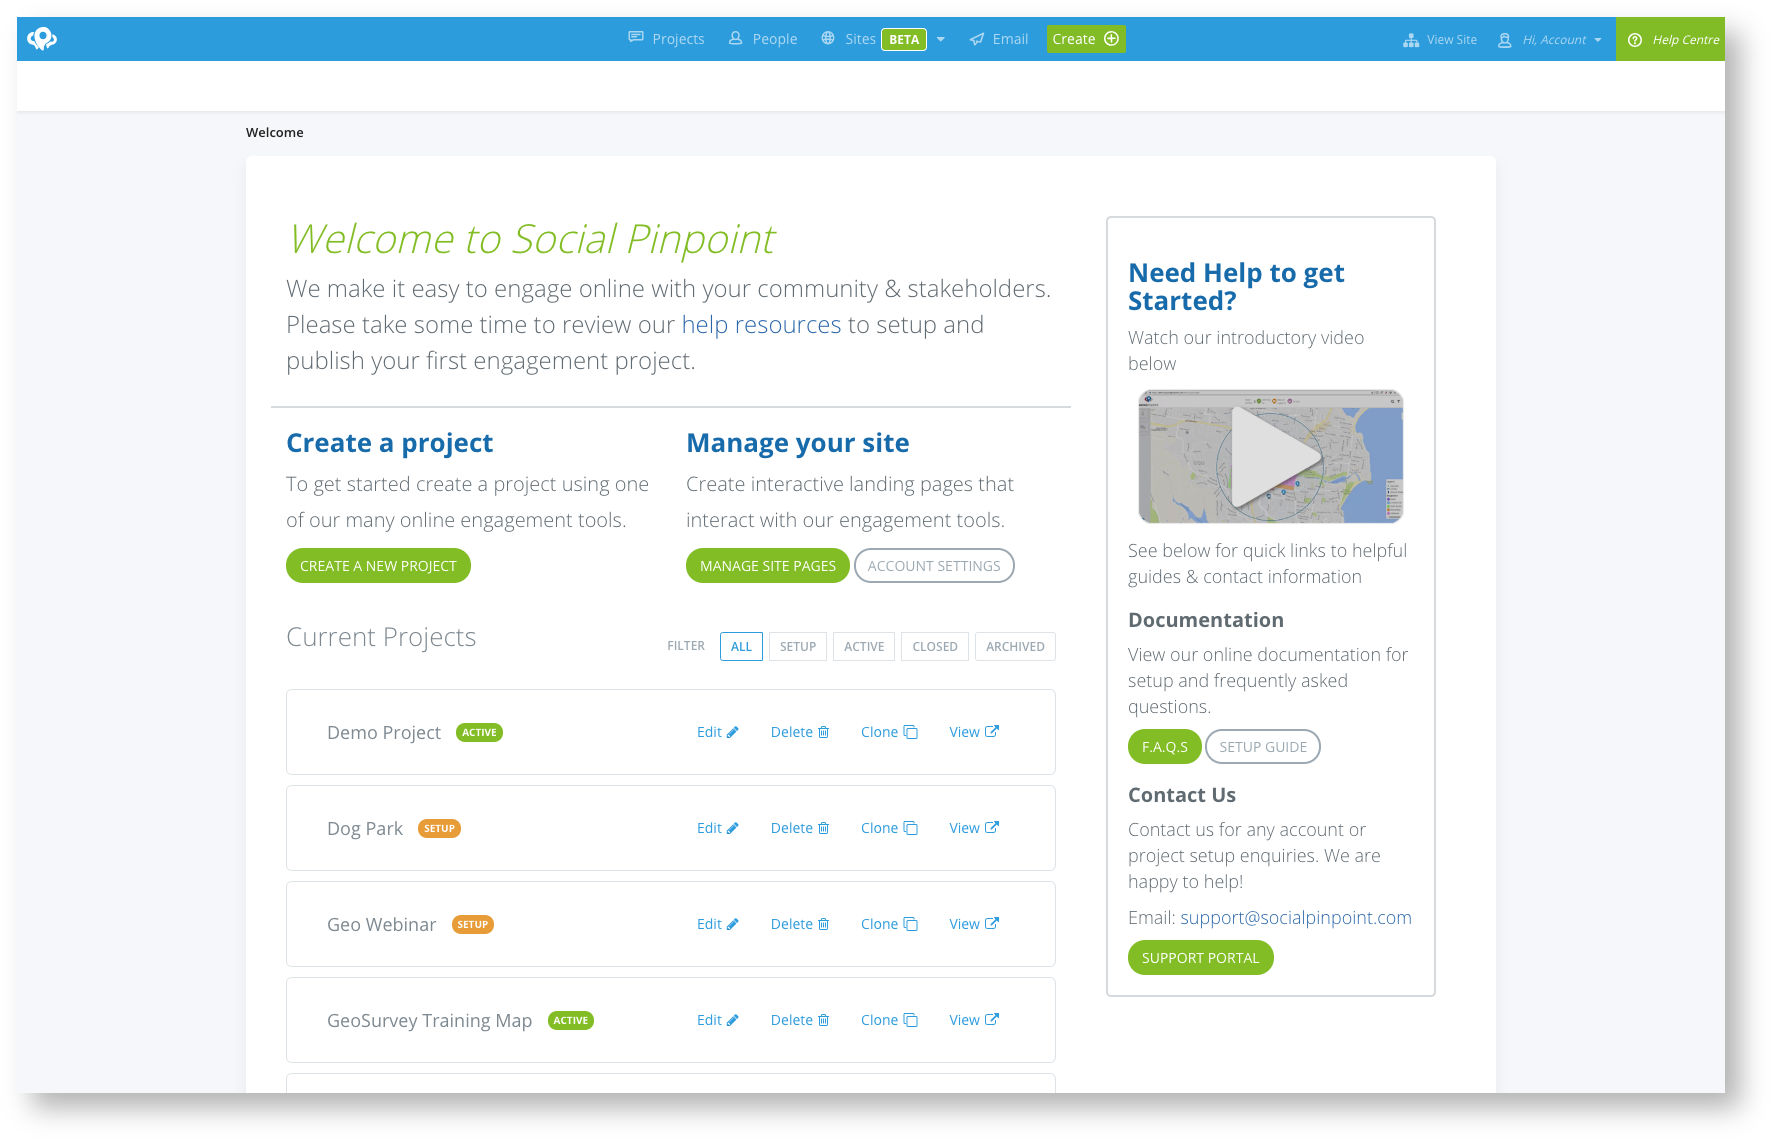
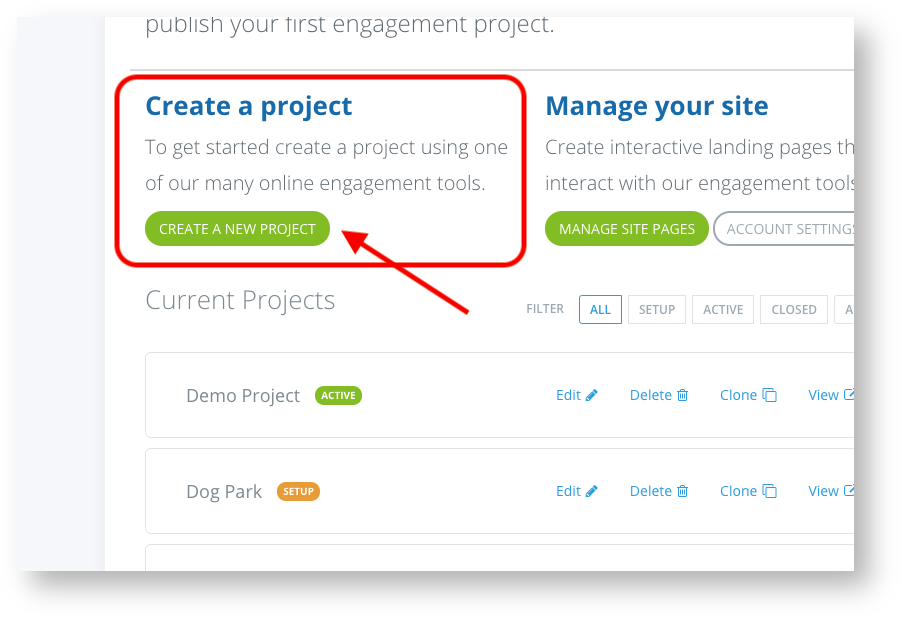
From the welcome screen, you can create a new project using the 'create new project' button.
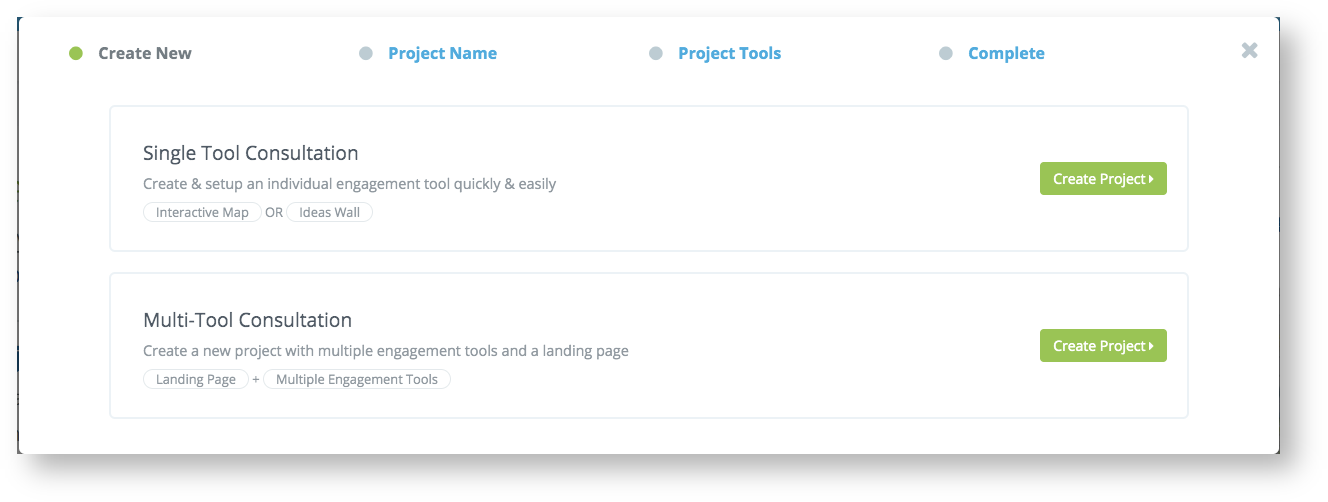
Next, you will have the option to select the type of project you would like to create.
For this example we will create a Single Tool Consultation as we are only creating an interactive map.
Select Create Project.
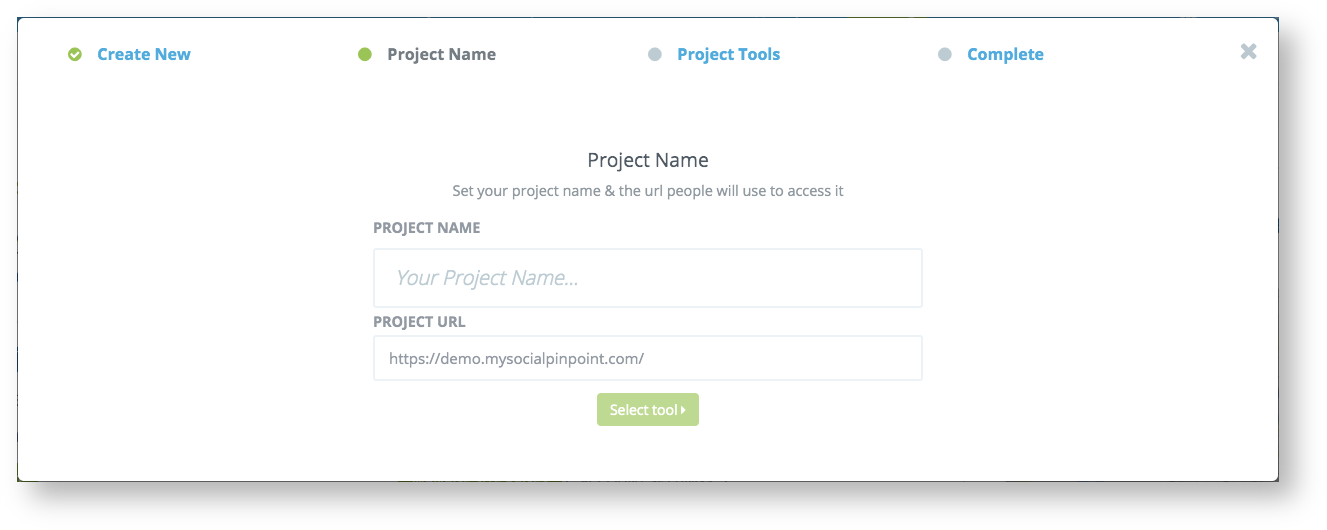
Create a name for you project.
(All the settings can be changed or updated later if needed)
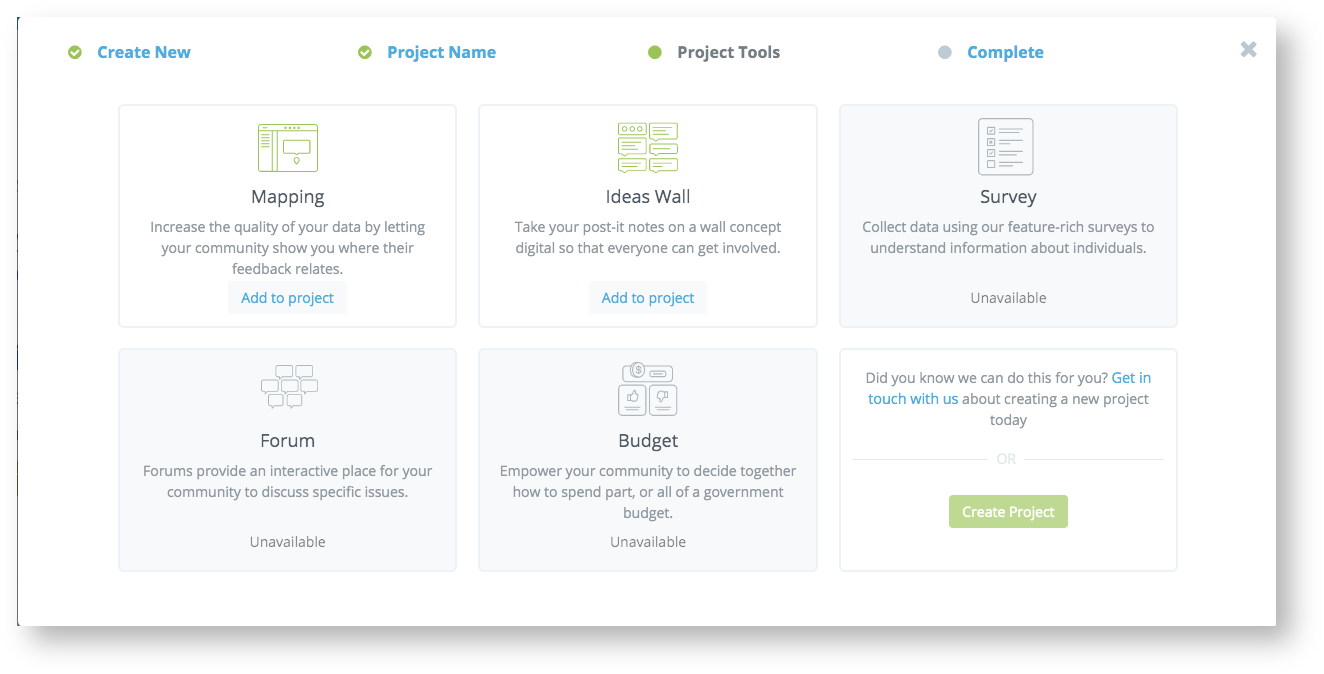
Next, you will add the map to the project.
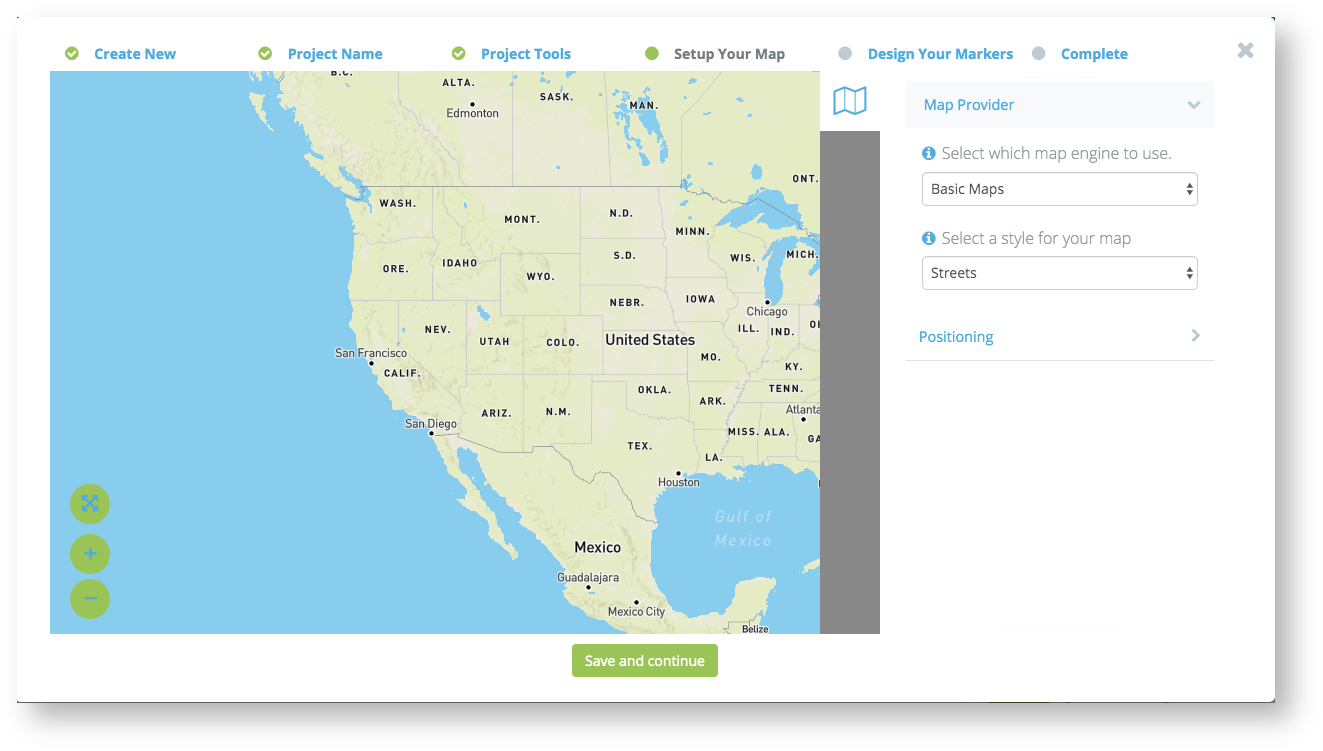
You will then have the opportunity to find the rough area of your consultation and select a basemap style.
You can also skip through these setting and work directly in the Map Editor to get a full screen view.
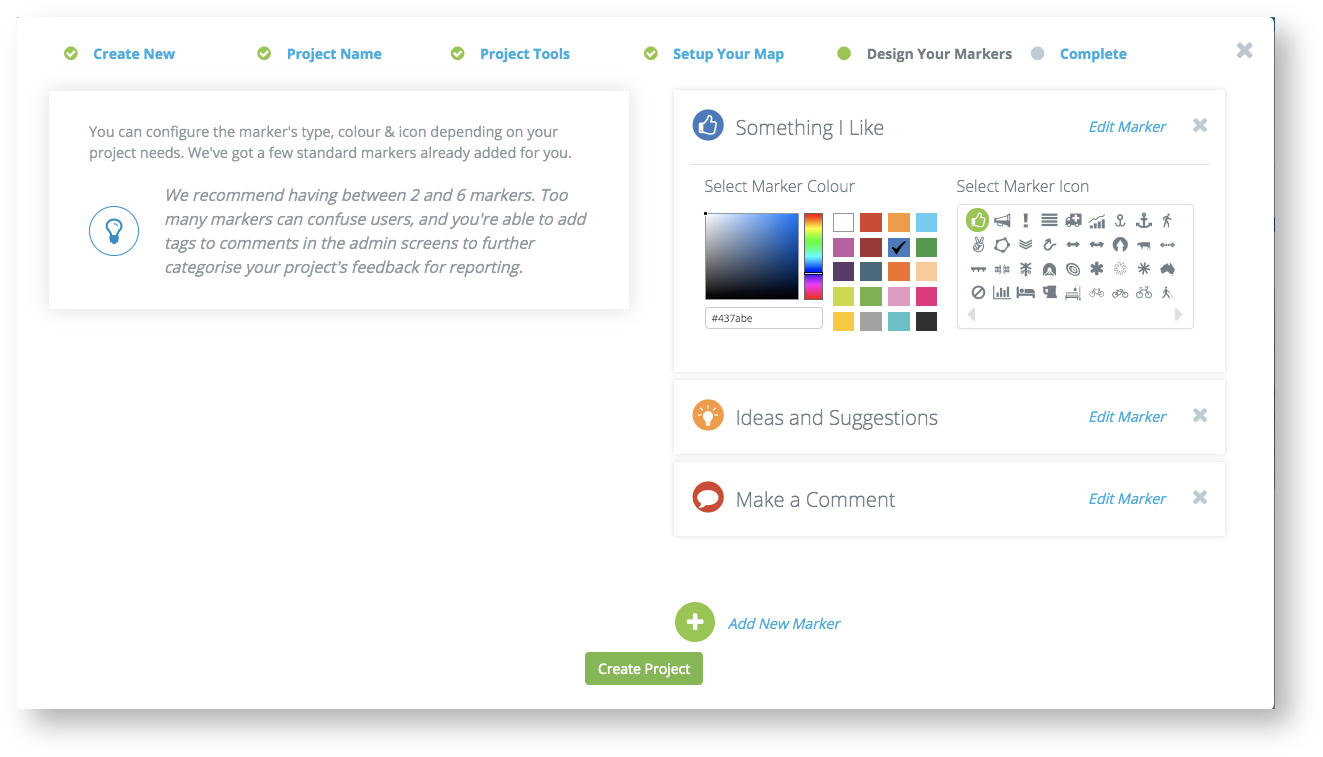
We provide you 3 default marker types which can be edited here or changed later.
Once saved, you have officially created a basic interactive map and can now edit as required.
