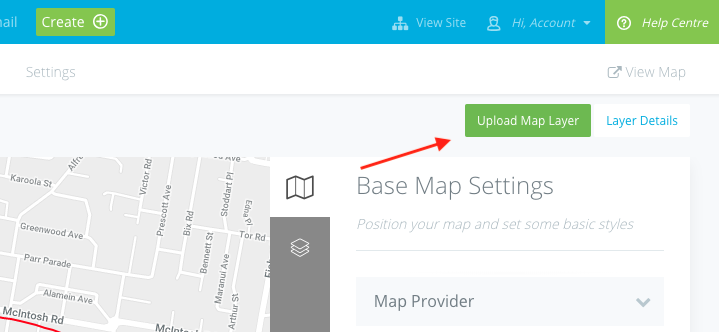
Project Setup - Map Editor
Overview of the Map Editor
Map Provider
The Editor also comes with all our built in providers including Google, Open Street Maps and our set of Basic Maps. You will also be able to access our advanced mapping integrations with Mapbox, ESRI and WMS here.
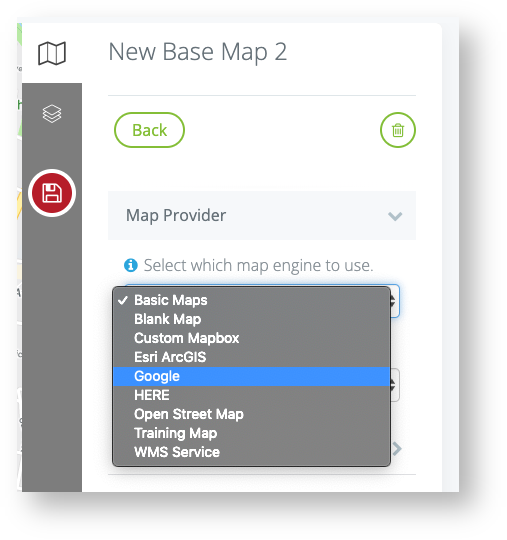
Note: To open and close Base map settings, click the Map icon in the righthand sidebar.
Positioning
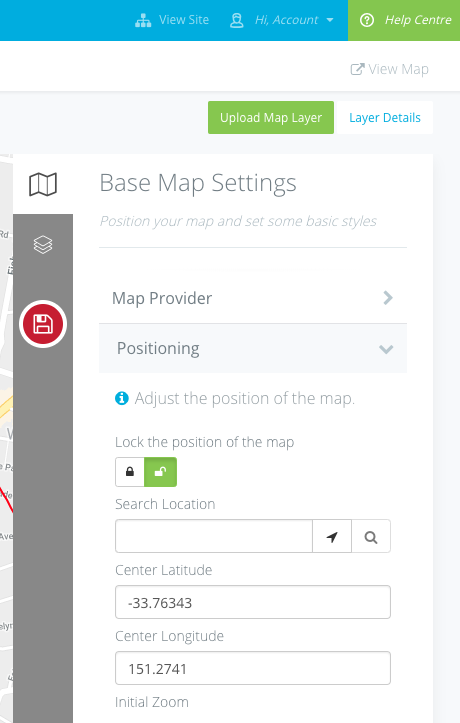
The positioning section allows you to safely move and lock the initial position of the map.
Searching for your initial position is also super easy with the built in address search.
You can use the search box as well to find the exact address you want to centre your map on.
If you modify, lock or unlock your map you will see a small red save icon appear. This provides feedback you need to hit save in order to persist the changes to your end users.
Please note: If you just want to play around, that's fine, don't hit save and refresh the page to restore the editor the the last saved state - Only hit save when you are sure of the new initial position.
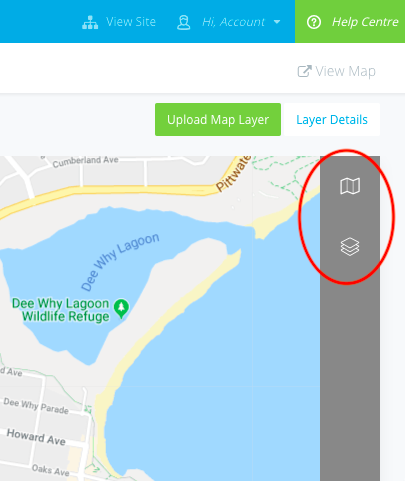
Use the buttons on the right to access the Map Editor Panels if you can't see them
Map Provider settings allows you to change the base map
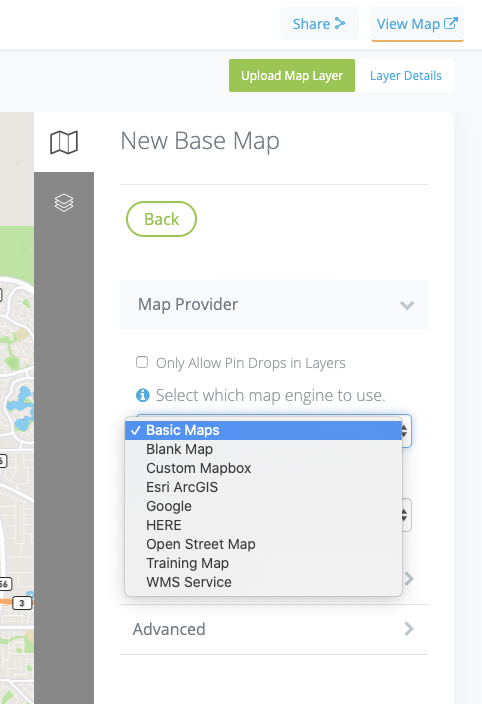
Positioning and setting initial map position
Advanced Base Map Settings
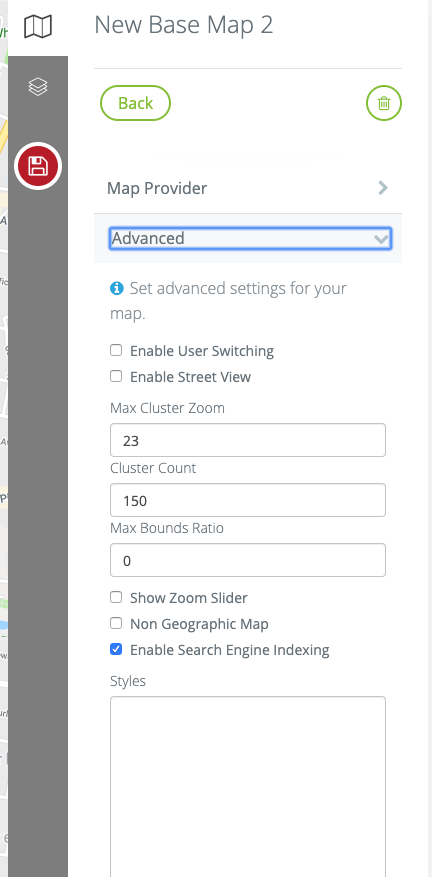
The Advanced Map Editor comes with options to Enable User Switching, Enable Street View, adjust your Cluster Zoom and Count and also option to apply Custom Base Map Styling (Contact Us for more information).
Map Layers
Help & Docs - Map Editor from Social Pinpoint on Vimeo.
Here you will see the full list of Layers currently on your map. You can add a new one with the + icon.
Layers can be visibly ordered (top to bottom) by simply dragging and dropping
Hit the Pencil icon to edit the layer. (You can also click on a layer in the map and we'll switch your currently open edit layer panel to match)
Creating Layers
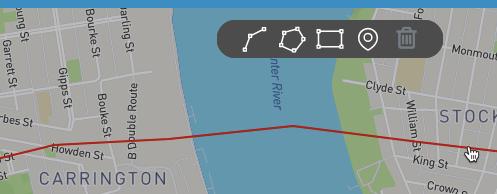
Layers can be created using the Layer Toolbar. There are a variety of shapes that can be added to a Layer.
Layers can also be added to a legend.
⚠️ Layers can only hold ONE type of shape on that layer.
e.g. If you add points to a layer, you can only add other points. You can't have points and polygons on the same layer.
For ease of use some of our buttons below will add the same type of shape which appear to be different, but are actually the same. A good example here is Polygons or Rectangles. They both can exist on a Layer together as they are both just polygons. The rectangle tool is just an easy way to make a rectangular polygon. 🙂
Tables can't be imported directly. Please insert an image of your table which can be found here.
Mode
Description

Draw Line
Draw a two dimensional line onto the layer.
Lines can be coloured and styled but DO NOT have a fill property

Draw a Polygon
Polygons are multi-sided shapes. They can be styled with line and fill colours as well as be 'clickable' to include content in a popup.

Draw a Rectangle
Rectangles are the same as polygons and this tool is just a convenience method for drawing a rectangle

Add a point
Points are single point icons that are added to the map. They can be styled with over 300 icons and can also be 'clickable' to include content in a popup

Add image overlay
This tool allows you to add an image onto the map. This is particularly useful for design options. See our Help article How do I overlay an image on a map for more details in using this tool
Use the layer toolbar to add and delete new shapes on your layer
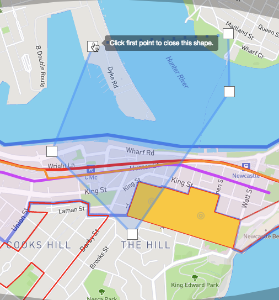
Guided tooltips will help you add and remove points from your shapes
Editing a Layer
All of the fields and settings from the existing Base Map and Map Layers screen have been moved into our simple-to-use Map Editor.
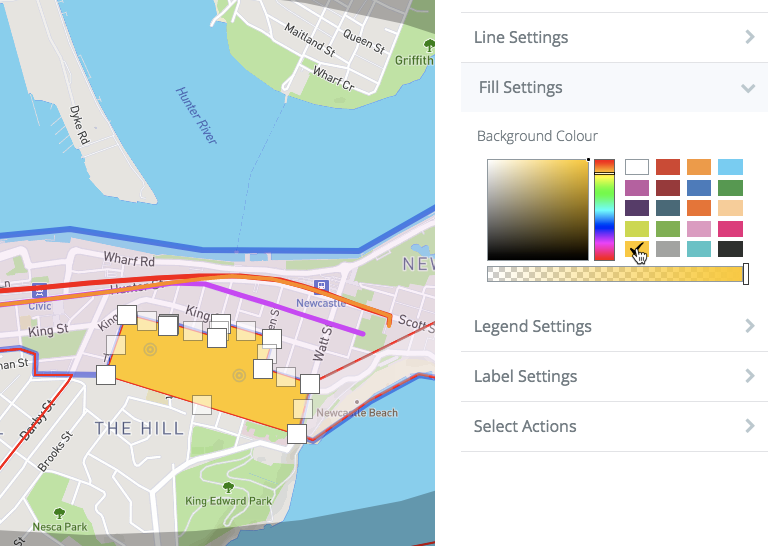
As you change your map settings, you will see these changes simultaneously update on your project map making it super easy to get the design right.
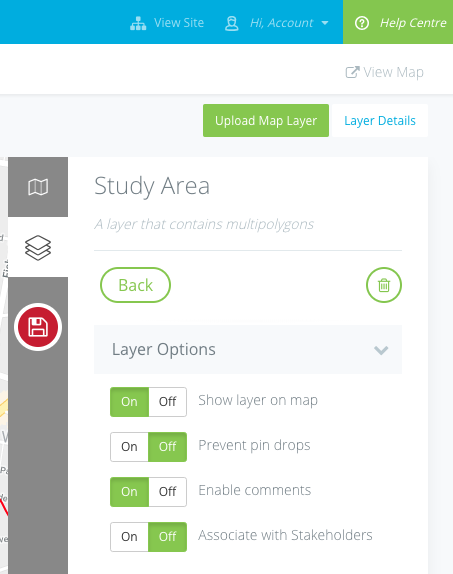
Layer Options
Adjusting settings are instantly shown on your map
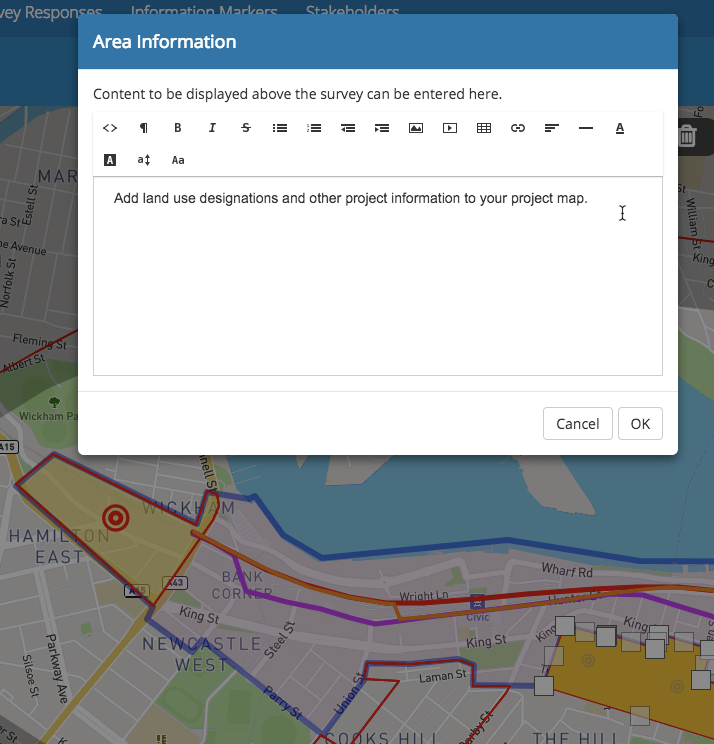
You can also easily add text to the layer popups by using our HTML editor.
Editing Features
Selecting a particular shape (also known as a feature) on your layer, you will see the Feature Toolbar appear which contains the following functions
Tables can't be imported directly. Please insert an image of your table which can be found here.
Mode
Description

Delete
This will remove the shape from the layer

Edit Shape
This mode allows you to adjust the vertices of the shape.

Label
Features can have their own label which can be displayed on the map if the layer's Show Labels property is set to On.

Lock
This will lock the feature and prevent any of the other feature toolbar settings from being able to be adjusted. Useful if you don't want to accidentally bump this feature or move it

Move Shape
Allows you to move the shape to another location on the map.

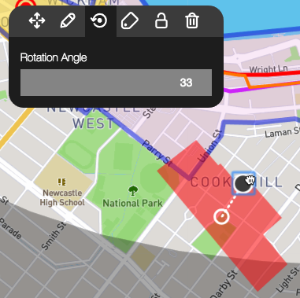
Rotate Shape
Allows you to rotate the shape. You can input the exact degrees to rotate the shape or use the provided handle to rotate the shape exactly
Feature Toolbar
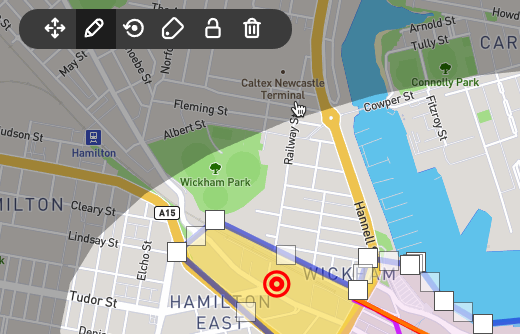
Shape Rotation
Uploading GIS Files
Social Pinpoint allows you to upload GIS files (in either Shapefile or GeoJSON) onto the map. These files create layers with the appropriate shapes in them that can then be styled.
